Thru Hiking the Enchantments – Everything You Need to Know
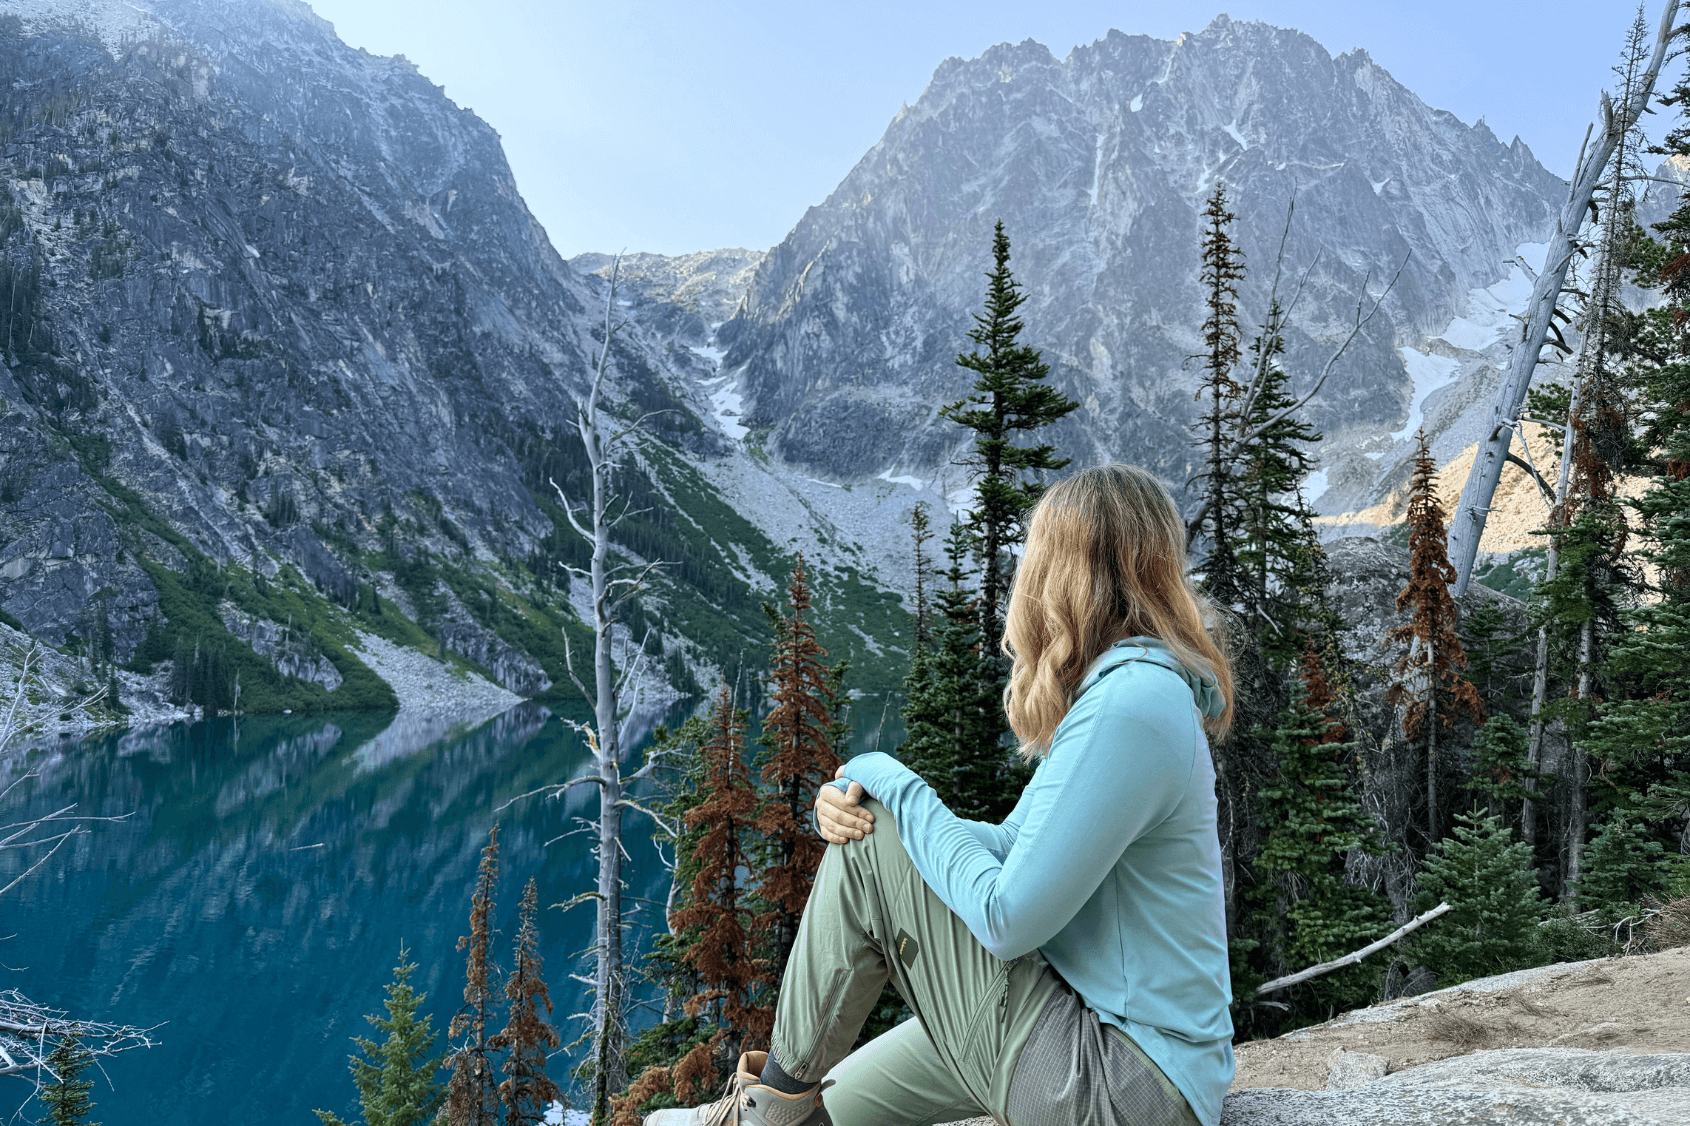
In July 2024, my husband and I hiked nearly 20 miles in 15.5 hours on a thru hike in the Enchantments in Washington state. We only learned about the Enchantments 5 days before going! As soon as we saw photos of the gorgeous alpine lakes and surrounding peaks, we purchased plane tickets immediately. This was by far the hardest hike I’ve ever done, but it also delivered the most spectacular landscapes. If you’re up for a serious challenge, let me help you prepare for this incredibly difficult but rewarding hike in the Alpine Lakes Wilderness Area of the Okanogan-Wenatchee National Forest
This post may contain affiliate links, which means I’ll receive a commission if you purchase through my link, at no extra cost to you.
Where are the Enchantments?
The Enchantments are located in the Alpine Lakes Wilderness Area of the Okanogan-Wenatchee National Forest
just outside of Leavenworth, Washington. It’s about a 2-2.5-hour drive from Seattle and you’ll need to drive out at least the night before.
The Enchantments comprises 5 zones: Eightmile/Caroline Zone, Stuart Zone, Colchuck Zone, Core Enchantment Zone, and Snow Zone.
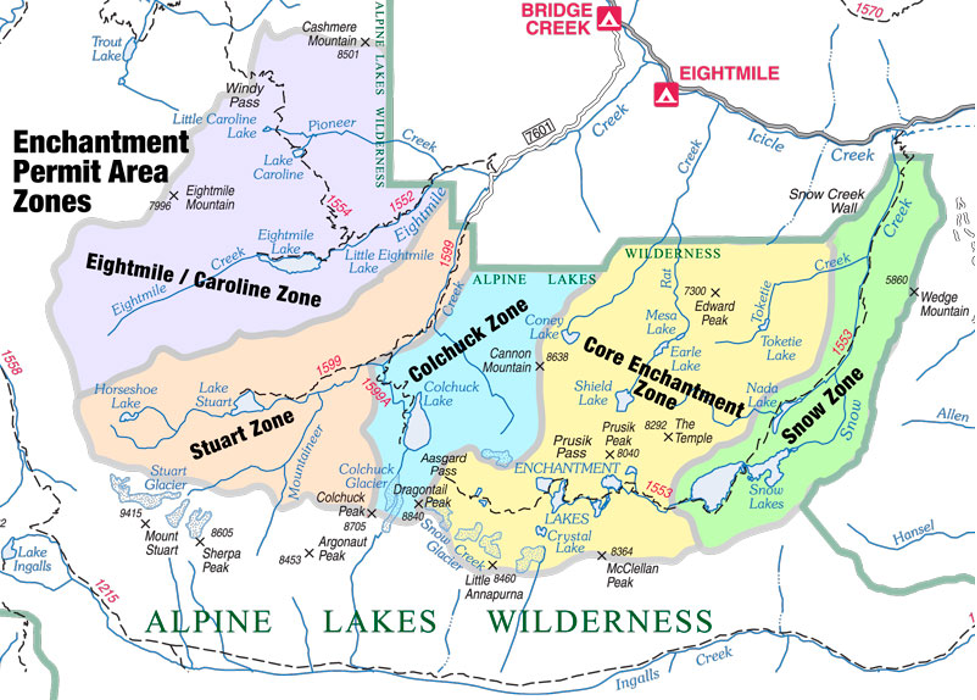
The Enchantments thru hike takes you through 4 out of 5 zones (skipping Eightmile/Caroline Zone altogether). The Core Enchantments Zone is where all of the alpine lakes above the tree line are located, providing stunning views and a great opportunity for a cold plunge.
According to AllTrails, the Enchantments thru hike is 18.0 miles. However, the trail isn’t clearly marked in many places and it’s easy to go off path. We ended up hiking roughly 19.5 miles. There are about 5000’ of elevation gain and 7000’ of elevation loss. AllTrails classifies this hike as “hard” but I think “strenuous” would be more accurate (for comparison, Tongariro Alpine Crossing is also labeled as “hard” but was significantly easier than the Enchantments).

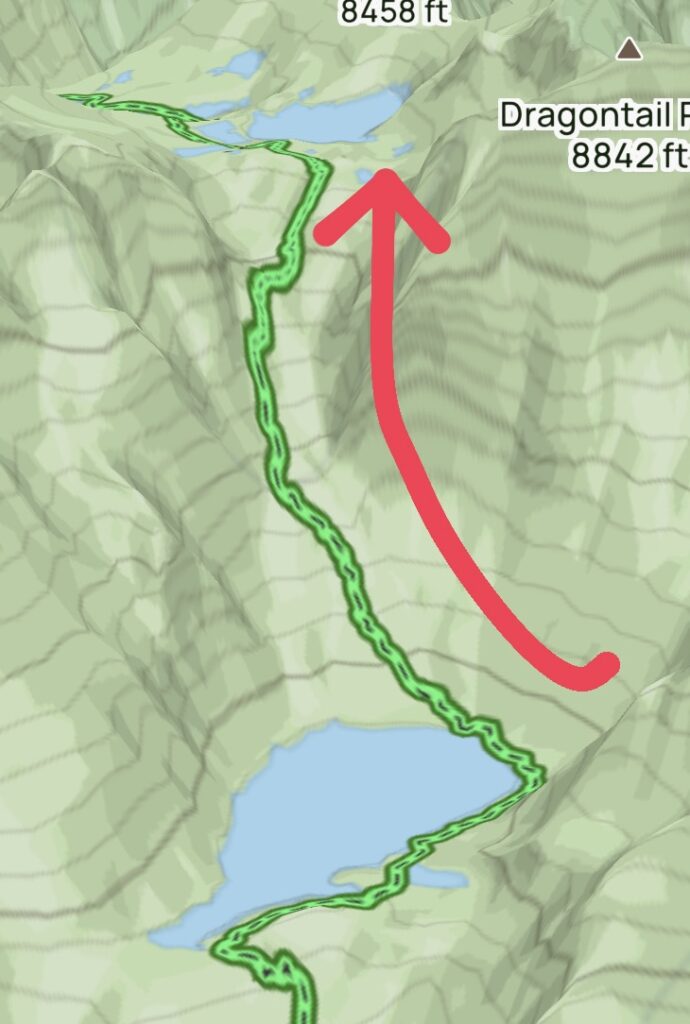
It’s also a pretty slow hike, taking an average of 14-16 hours to complete (we finished in 15.5). Aasgard Pass is a big part of this, as you have to go up nearly 2000’ of elevation gain in less than 2 miles while navigating a boulder field and doing your best to stay on the trail. That alone took us 2 hours and 15 minutes.
It’s not just Aasgard Pass that’s technical – much of the hike is rocky and steep. You have to watch your every step to keep from rolling an ankle and sometimes ensuring that the ground beneath you is stable.
Best Time of Year to Visit
Peak season at the Enchantments is mid-May to October. However, there may be snow covering parts of the path into June and then again in the early fall. We visited at the end of July and there was still a small amount of snow, but not enough to need microspikes. July and August are the most popular times to hike the Enchantments, but the fall offers a special opportunity to see the larch trees when they’re a golden yellow hue.
The Enchantments sees about 300 days of sunshine per year, but be sure to check the weather reports before you set out because this hike could be very dangerous in bad weather.
Where to Stay in Leavenworth
Some people sleep in their cars the night before to get an early start on the hike. However, it’s not necessary to do so as Leavenworth is only a few minutes away. If you’re not familiar with the story of Leavenworth, it’s a former mining/trading town that overhauled its look in the 1960s and transformed itself into a Bavarian village.
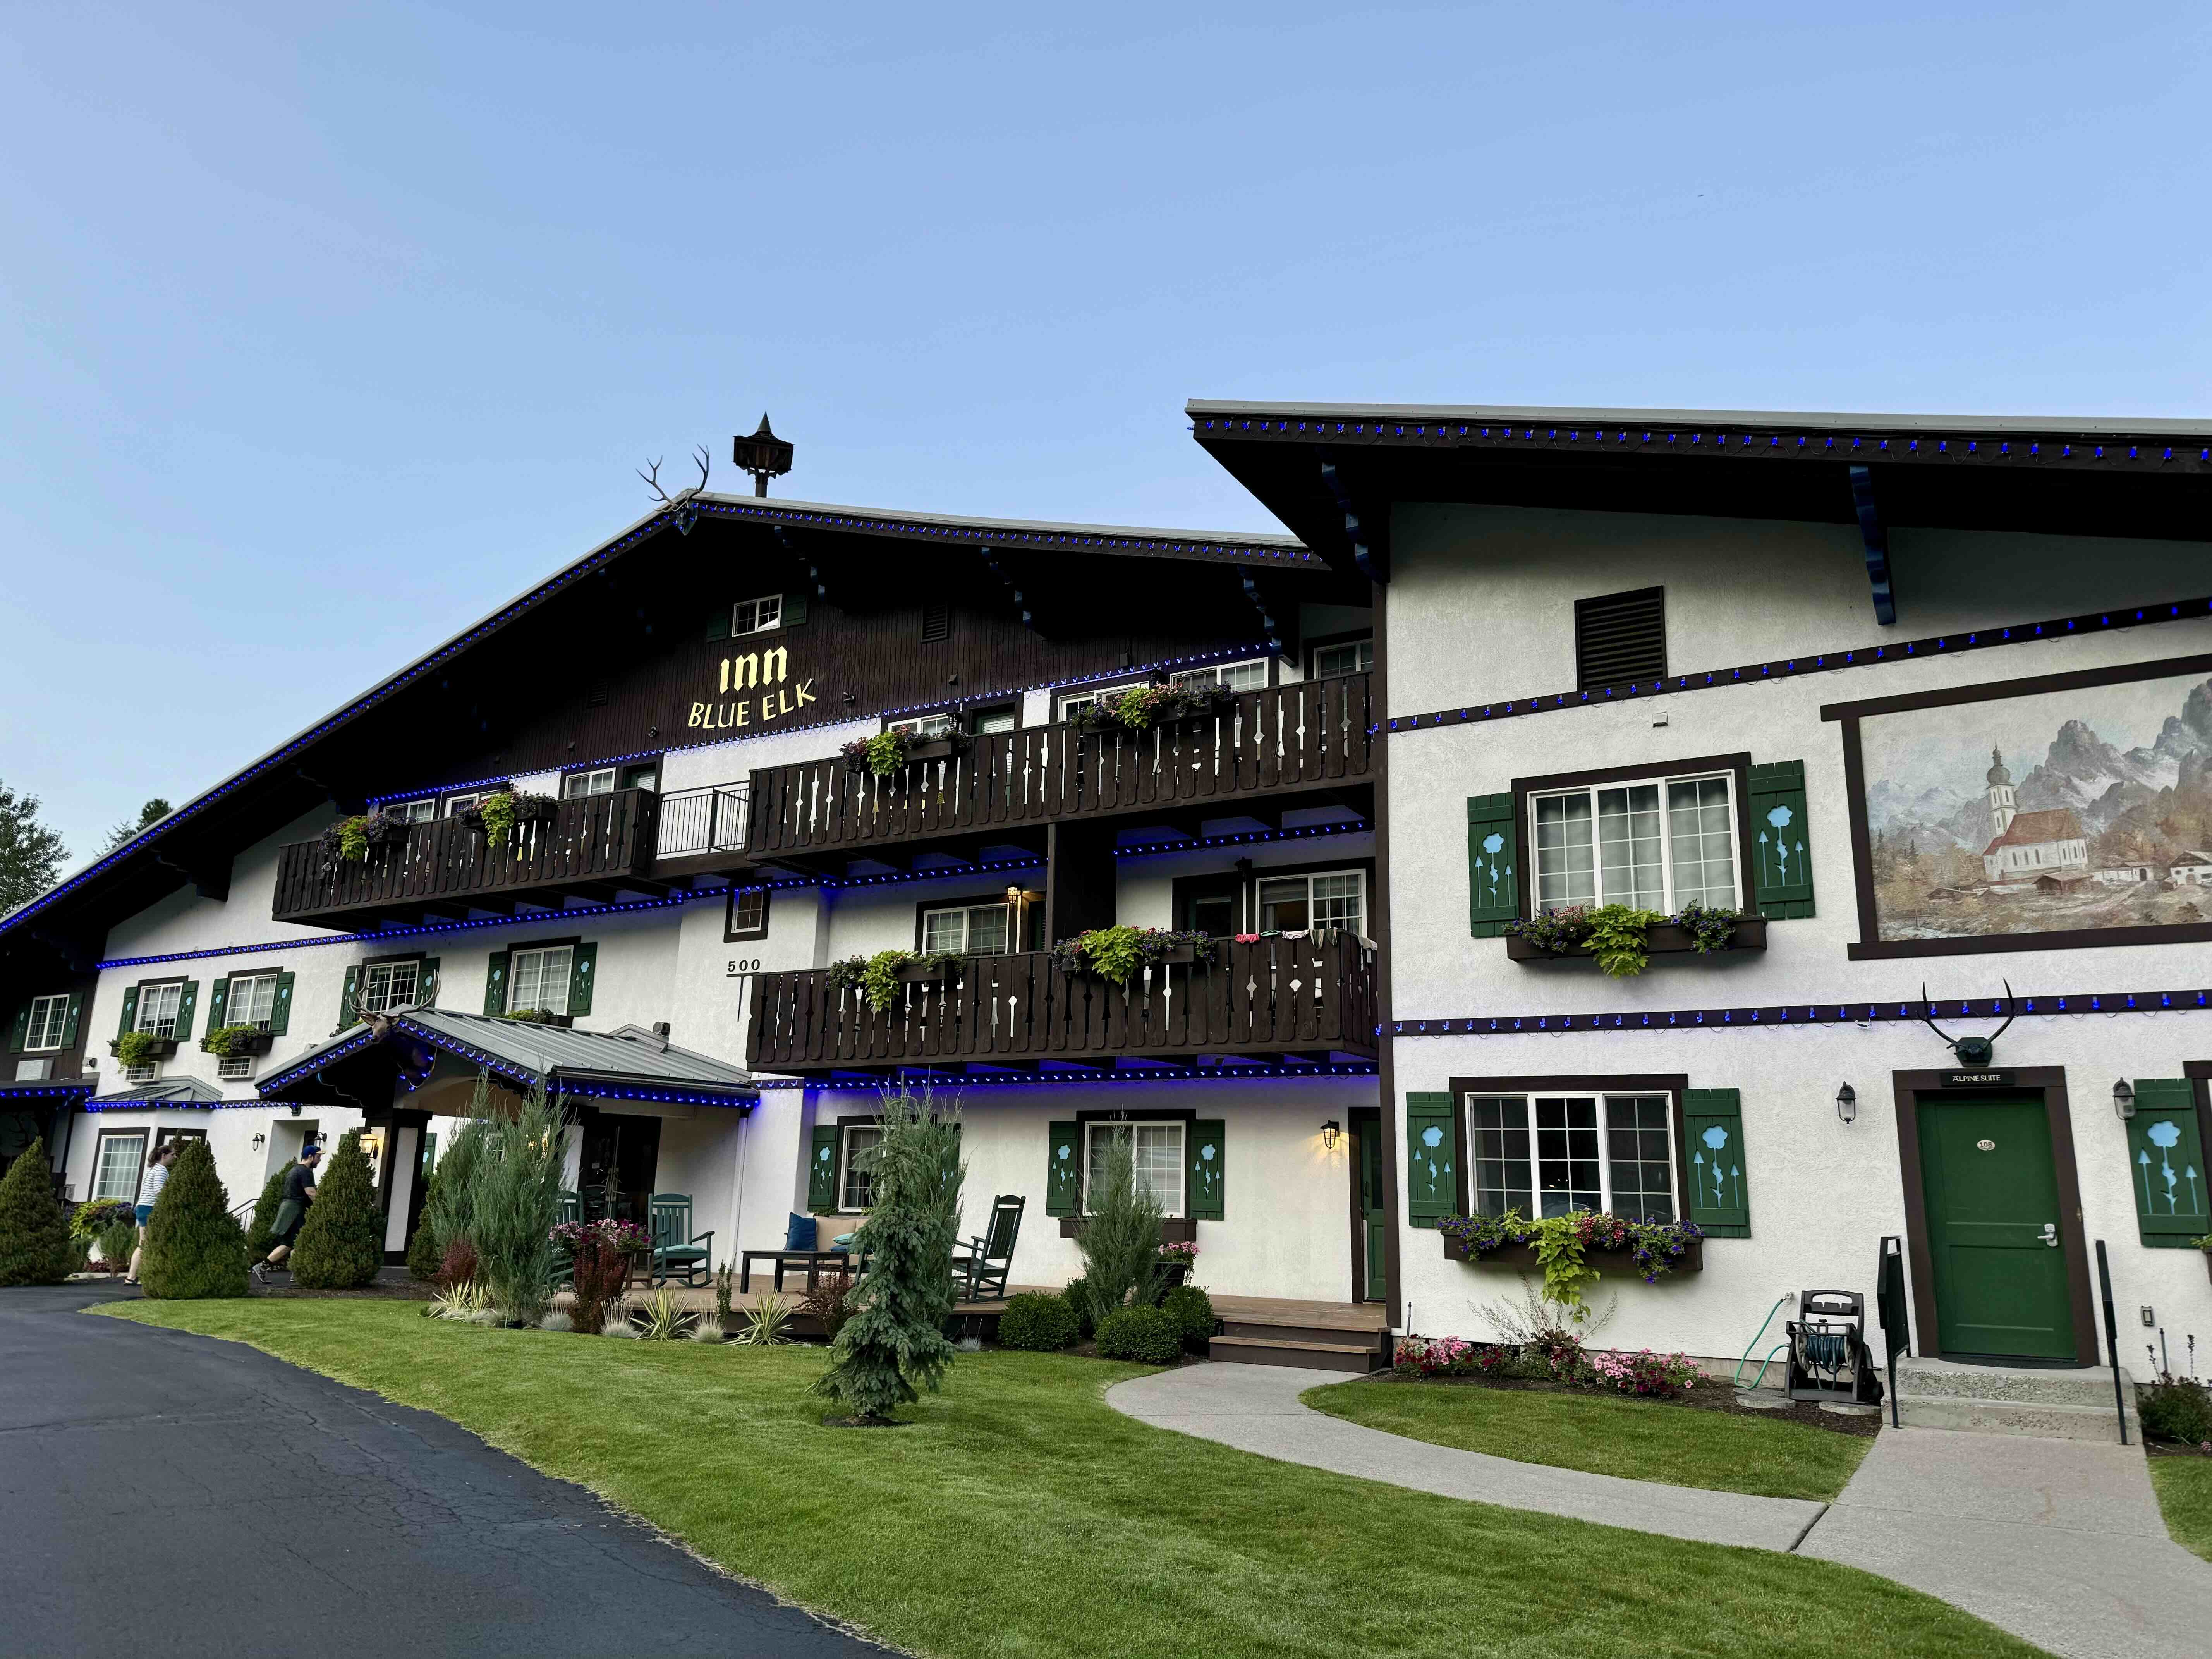
We stayed at the Blue Elk Inn, which was a great option to be close to the trailhead. The inn has a pool, hot tubs, saunas, bikes, and free breakfast. We lucked out with a room on the first floor because after our hike, nothing would be worse than having to take the stairs!
Other great lodging options in Leavenworth:
Options for Hiking the Enchantments
There are multiple ways to go about seeing the Enchantments. Here are your primary options:
Shorter Out/Back Hikes
If you don’t want to hike the entirety of the Enchantments in a day, you can opt for a shorter out and back hike. The most popular out/back trail is from the Stewart and Colchuck Lake trailhead to Colchuck Lake.
Backpacking
If you want plenty of time to enjoy all the beauty that the Enchantments has to offer, you’ll want to try your luck at winning a backpacking permit. Permits are required between May 15 and October 31. However, the odds are really not in your favor, as only about 6% of applicants win a permit via the lottery (exact odds vary by zone and day of the week).
There are 2 ways to win a permit: in advance and the day before. The pre-season lottery is open February 15-March 1. If you don’t win a permit, you can try for a last minute “walk-up” permit the day before (“walk-up” is in quotes because it’s now done online). You do need to be within a mile of the ranger station to apply for a walk-up permit.
For more information on backpacking permits and to apply, click here.
Keep in mind that while you’ll have more time to explore while backpacking, you’ll also be carrying more gear than you would for a day hike, so that will increase the difficulty of the overall hike. You also can’t have any campfires above 5000’ ft elevation, so you’ll be reliant on gas for cooking.
Thru Hiking
If you want the full Enchantments experience but didn’t win a permit, then the thru hike is a great option (it’s what we did!). Covering nearly 20 miles in one day is serious work. We don’t consider ourselves very experienced hikers and we got it done. If you have a good overall fitness, the right gear, and determination, you can do the Enchantments thru hike. One advantage over backpacking is that you only have to carry a day pack, which is significantly lighter than backpacking gear!
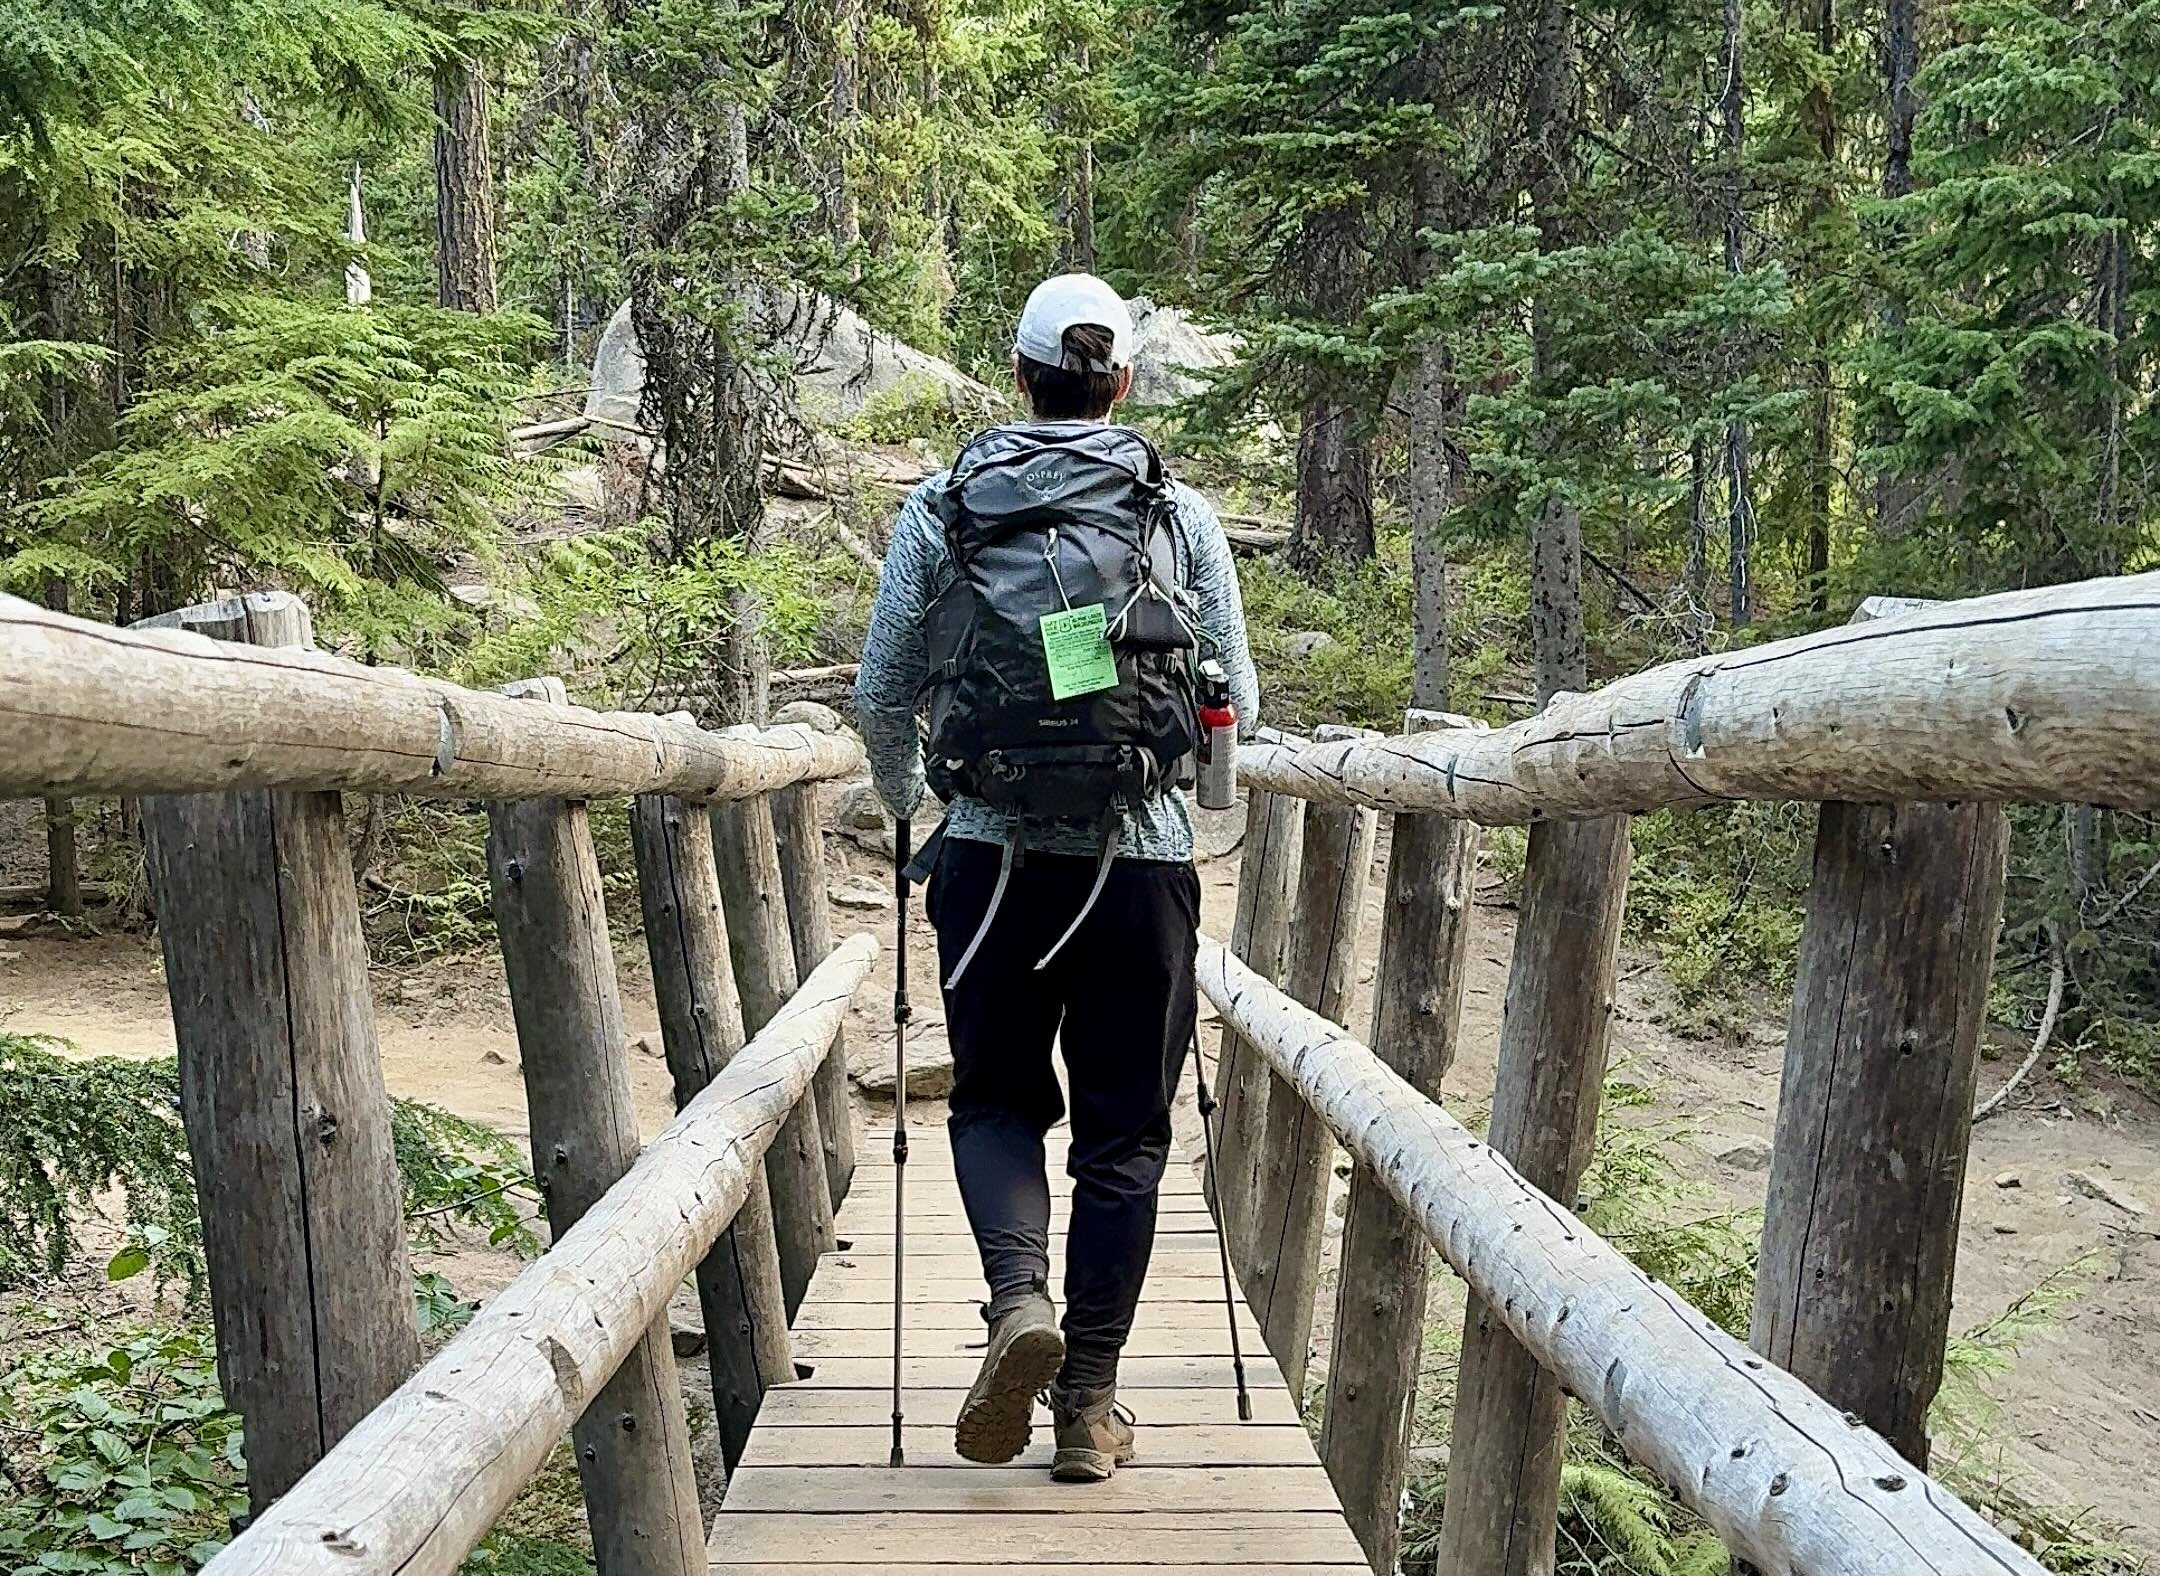
You do still need a free, self-issued wilderness permit that you can find at both the Snow Lakes and Stewart/Colchuck Lake trailheads (1 permit per group). You put half the permit in the box and attach the other half to your bag. Rangers may stop you along the trail and ask to see your permit, so keep it with you.
You can thru hike the Enchantments in either direction. It’s recommended to start at the Stuart Lake trailhead and end at the Snow Lakes trailhead because it’s better to go up Aasgard Pass rather than down it.
This article will focus on everything you specifically need to know to thru-hike the Enchantments.
Parking/Shuttle Logistics
Where to Park
For a thru hike, the best place to park is the Snow Lakes trailhead, where you’ll want to finish the hike. The parking lot fills very quickly (partly because some people sleep in their cars overnight). By the time we showed up around 4:40AM on a Saturday morning, the parking lot was already full and there were plenty of cars parked along the road (which is allowed). You can park on either side of Icicle Road. Finding parking may be the most restrictive part of this hike, so plan for an early morning to guarantee a spot.
Getting Between Trailheads
The Enchantments thru hike starts and ends at different places, so you’ll need to figure out transportation between the trail heads. If you’re local and/or hiking with friends, you may want to park a car at each trail head.
We were coming from out of state and had no interest in renting 2 cars, so we parked at the Snow Lakes trailhead (where we’d finish the hike) and had a pre-booked shuttle take us to the Stewart and Colchuck Lake trailhead at 5AM. There are 2 companies that offer shuttle services – Leavenworth Shuttle and Loop Connector Shuttle. You could also schedule a ride to take you from Leavenworth to the trailhead if you don’t have a car, but getting a ride back may be difficult.
It takes about 30 minutes to drive between the 2 trailheads, so walking/biking isn’t really feasible. The road to the Stewart and Colchuck Lake trailhead is also very bumpy and dusty.
Parking Permits
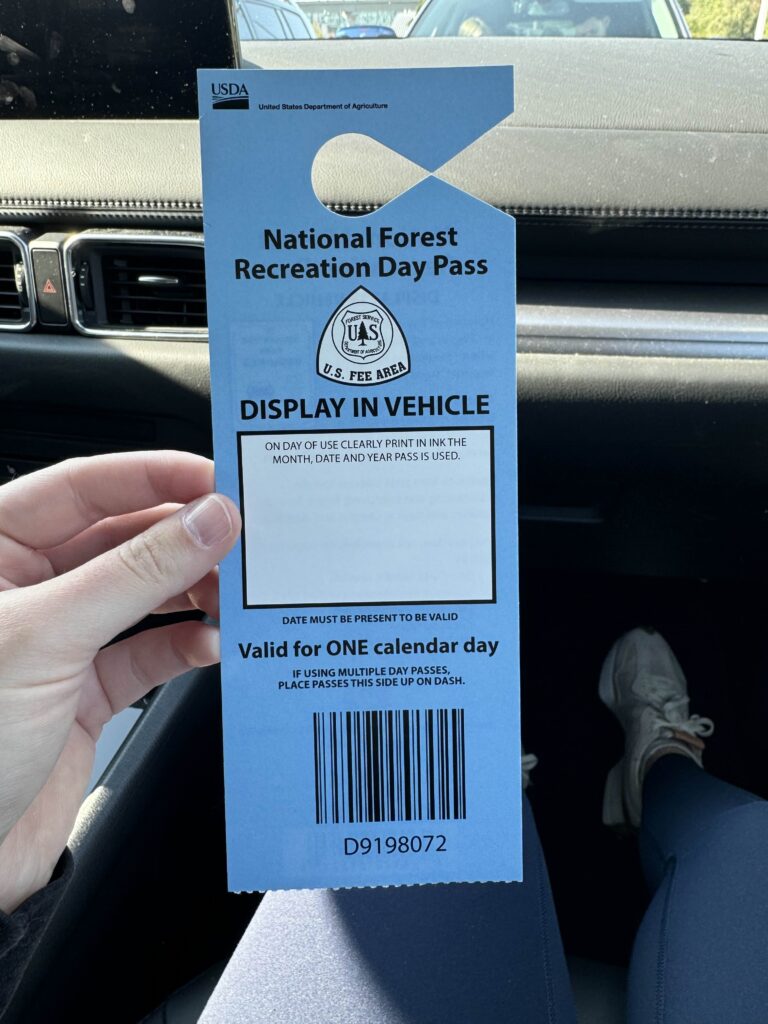
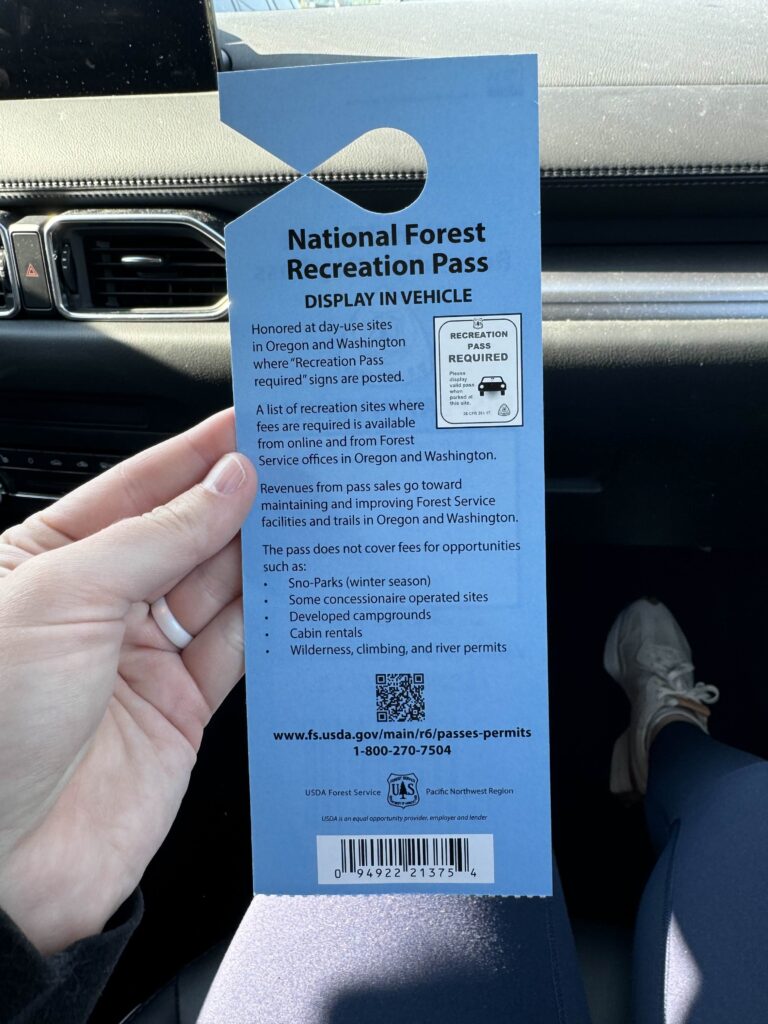
You are required to display a permit on your vehicle. This can either be a Northwest Forest Pass (day pass or annual pass) or an America the Beautiful Pass. You’ll need to obtain this at least the day before your hike because they are not sold onsite.
We don’t visit national parks very often (and don’t live in the PNW), so we opted to pick up a Northwest Forest Recreation Day Pass for $5. You can buy these online and print them out, but you must know your license plate number (so not practical if you’re renting a car). Thankfully, you can also purchase these passes at many stores in the Pacific Northwest, including REI where we bought ours. Here’s a link to a store locator.
What to Expect on the Hike
An Early Start
As I mentioned, parking can be difficult the longer you wait, so that’s a big reason to get an early start. However, the other reason is because this hike takes so long, you’ll want to start early to minimize how long you have to hike in the dark. We set a 4AM alarm, officially hit the trail at 5:50AM and finished at 9:23PM. In July, the sun rose before we started and it was almost fully dark when we finished, but we never needed our head lamps.
Technical Terrain
Expect technical terrain to slow you down throughout the Enchantments thru hike. There was plenty of rock scrambling, exposed tree roots, fallen trees, and loose ground that made us have to watch every step. Hiking poles were extremely helpful for maintaining our balance on the trail.
Cairns (AKA Rock Stacks)
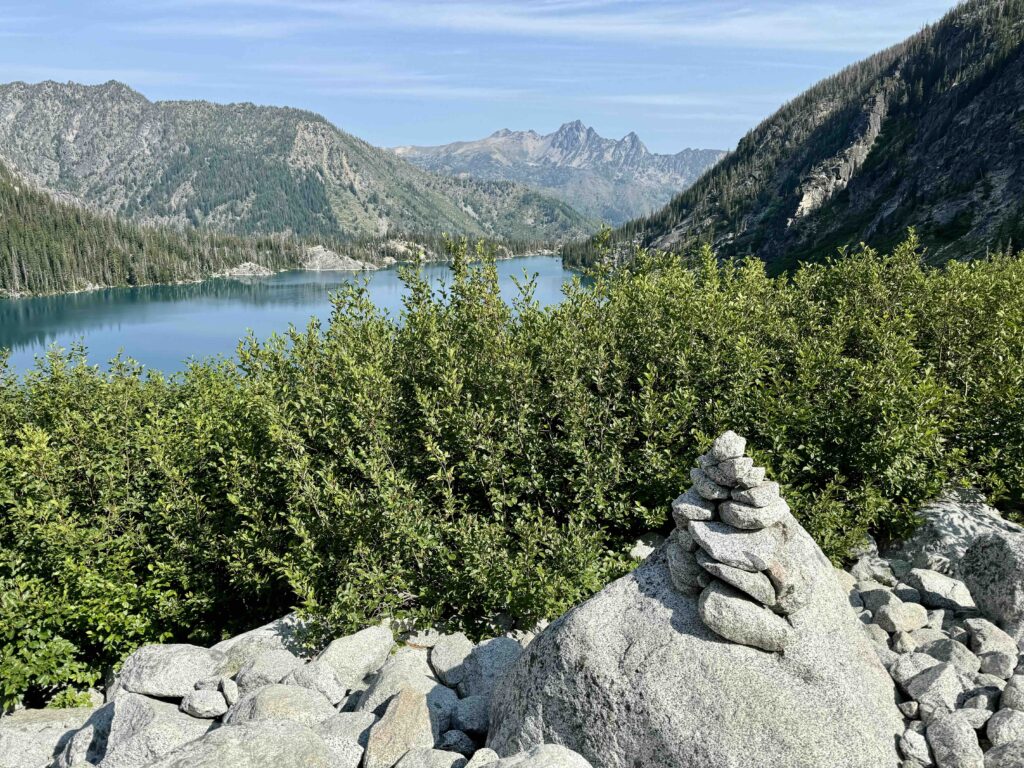
On the rocky portions of the hike, the path isn’t obvious in many places. You’ll have to look for cairns (which are stacks of rocks) that are built to help you find your way. Some are 50+ rocks stacked up and others are only 3. Sometimes they’re very far apart and can be difficult to keep track of, so we also made sure to download the AllTrails map for offline use to double check we were going the right way.
Mountain Goats
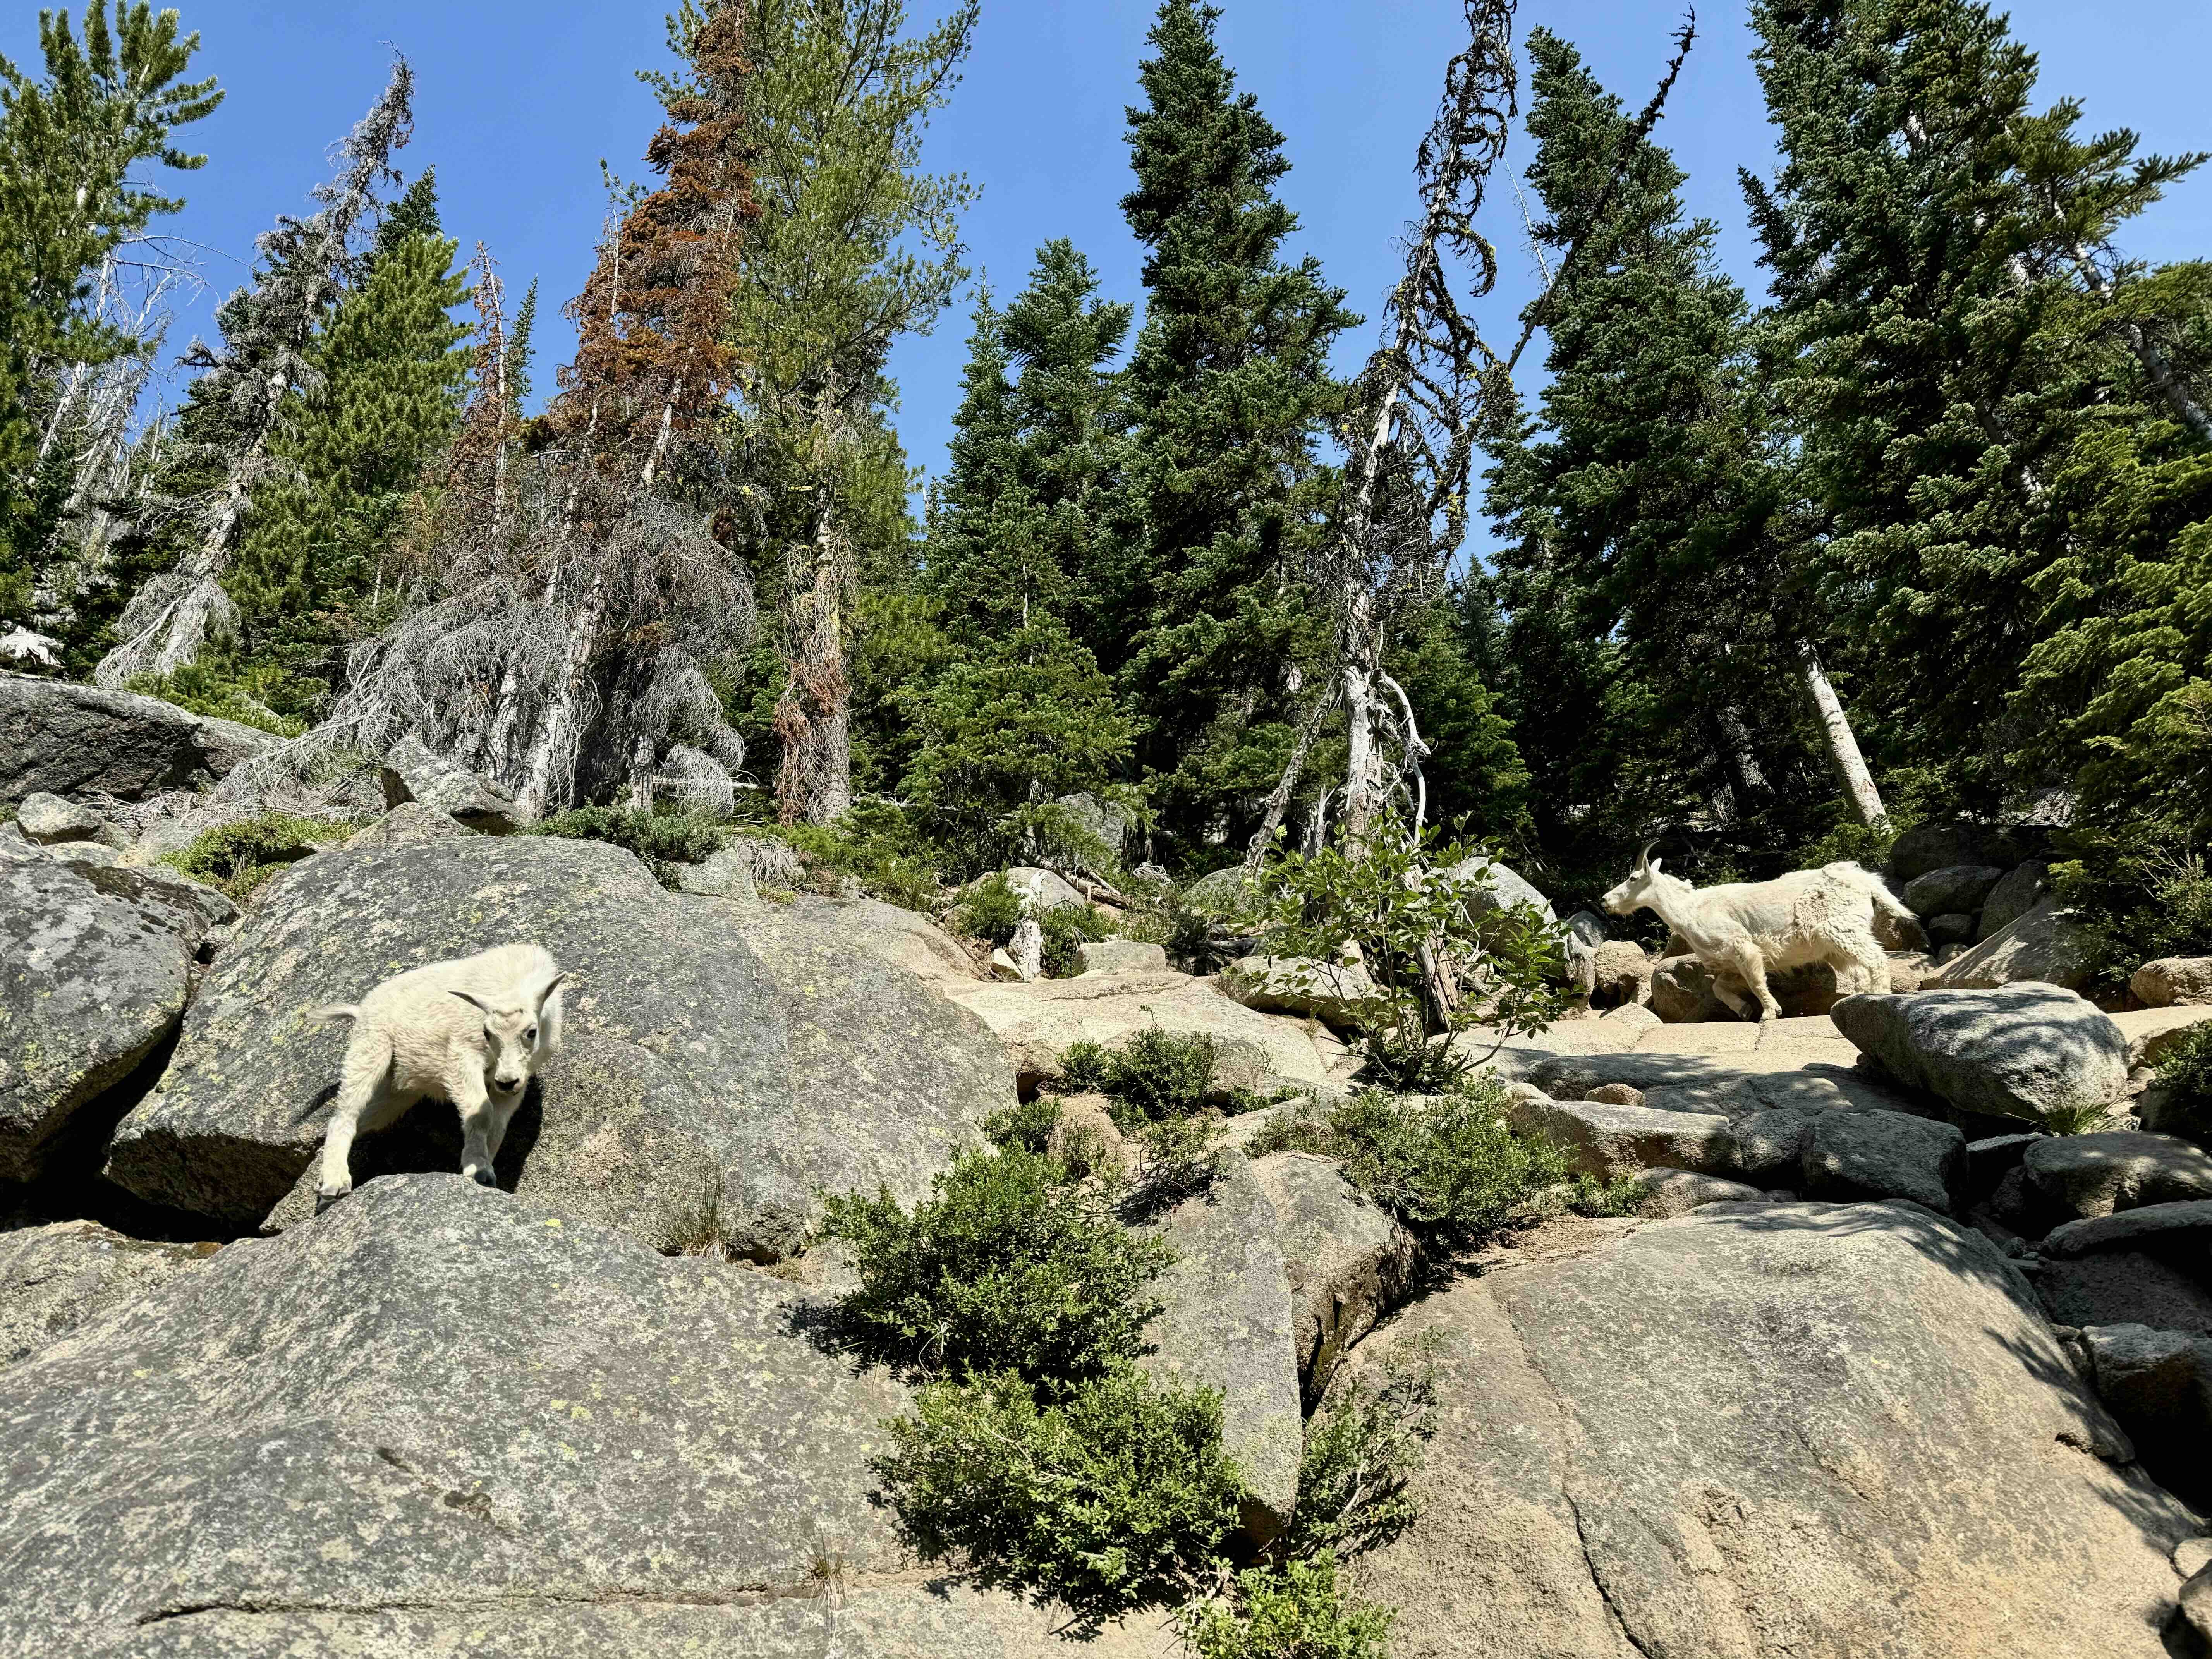
This is bear country, so you do need to keep an eye out, but there have been very few reported incidents over the years. However, you’re almost guaranteed to see mountain goats. We saw about a dozen, including several cute kids. Don’t let their cuteness fool you – these goats crave salt and have been known to be aggressive, coming after hikers for the salt in their sweat or urine. We didn’t have any issues, but you can throw rocks at them if needed (or worst case scenario use your bear spray on them).
4 Main Sections of the Hike
This thru hike is broken into 4 main sections:
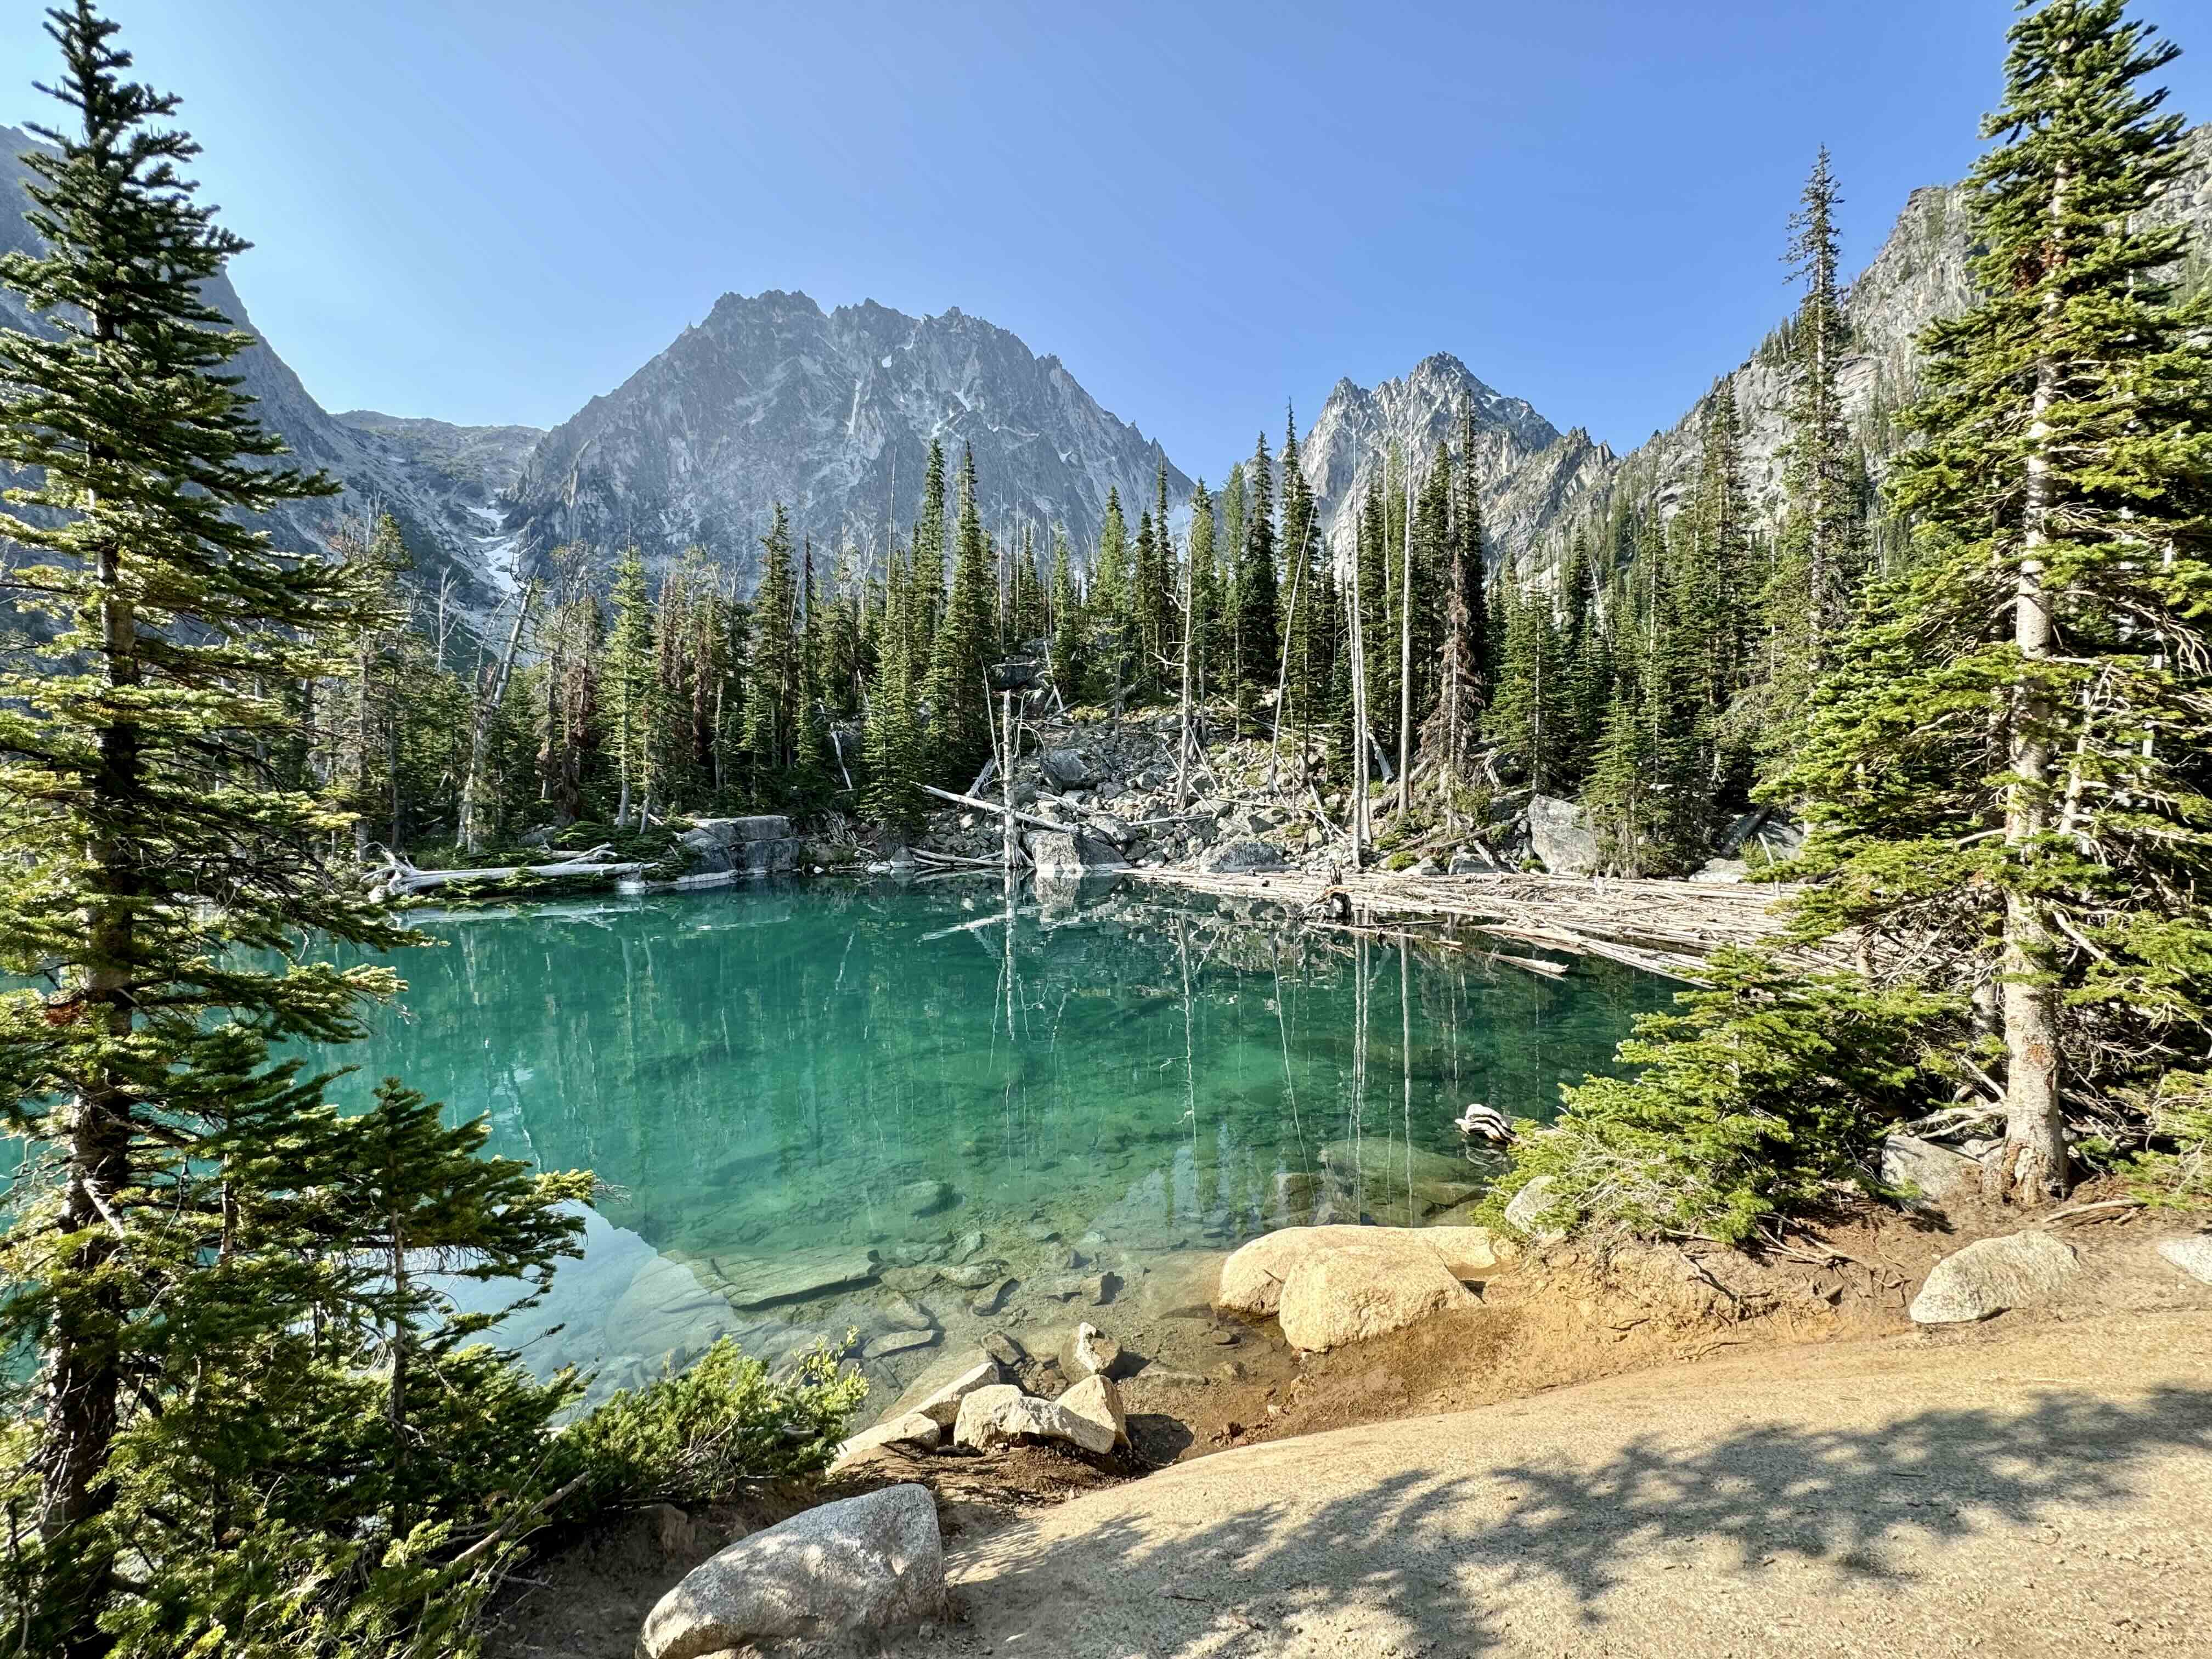
1. Stuart Lake Trailhead to Colchuck Lake – the start of the hike is largely forested and on a well-marked trail, but it’s still nearly half the elevation gain of the hike. It’s pretty busy, but once you get to Colchuck Lake, you’re greeted with an incredible view and the first of many lakes you’ll see today.
2. Aasgard Pass – this section will test your quads and your endurance, but anytime you get tired, you can take a break and turn around for an incredible view of Colchuck Lake getting smaller and smaller the further you go. Unfortunately, Aasgard Pass can be very dangerous and there have been reported deaths, so only hike it in good conditions.
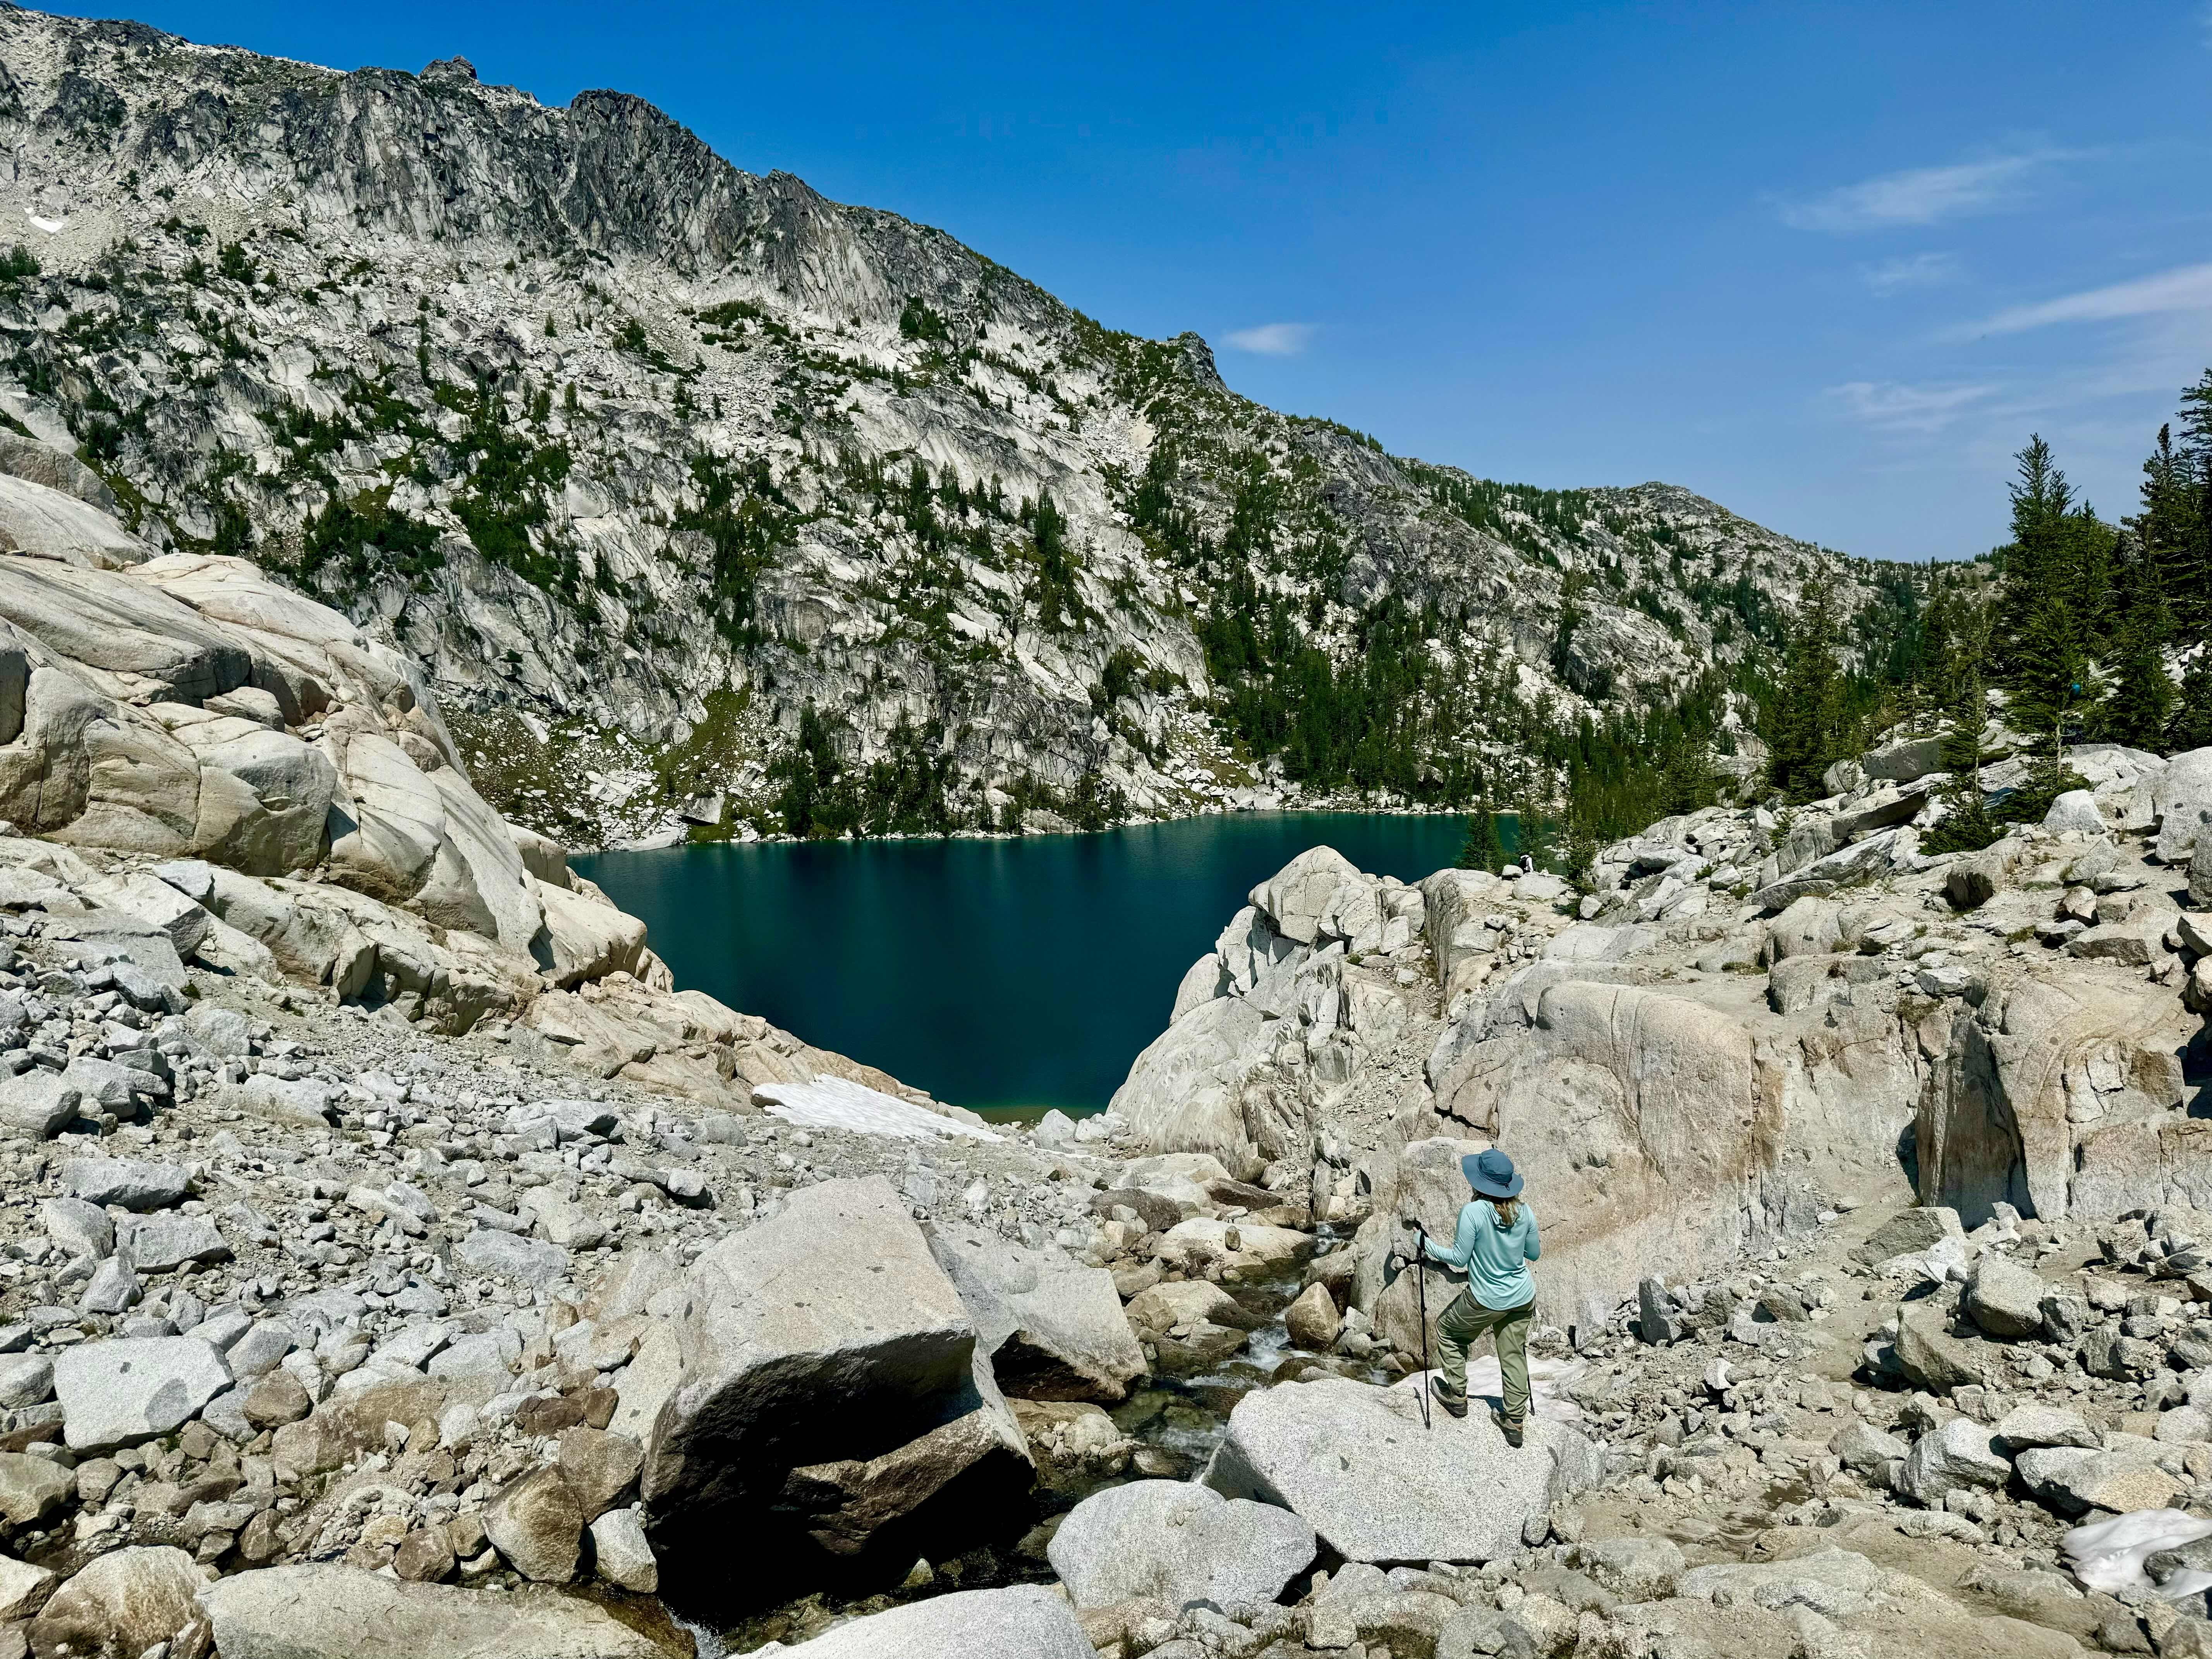
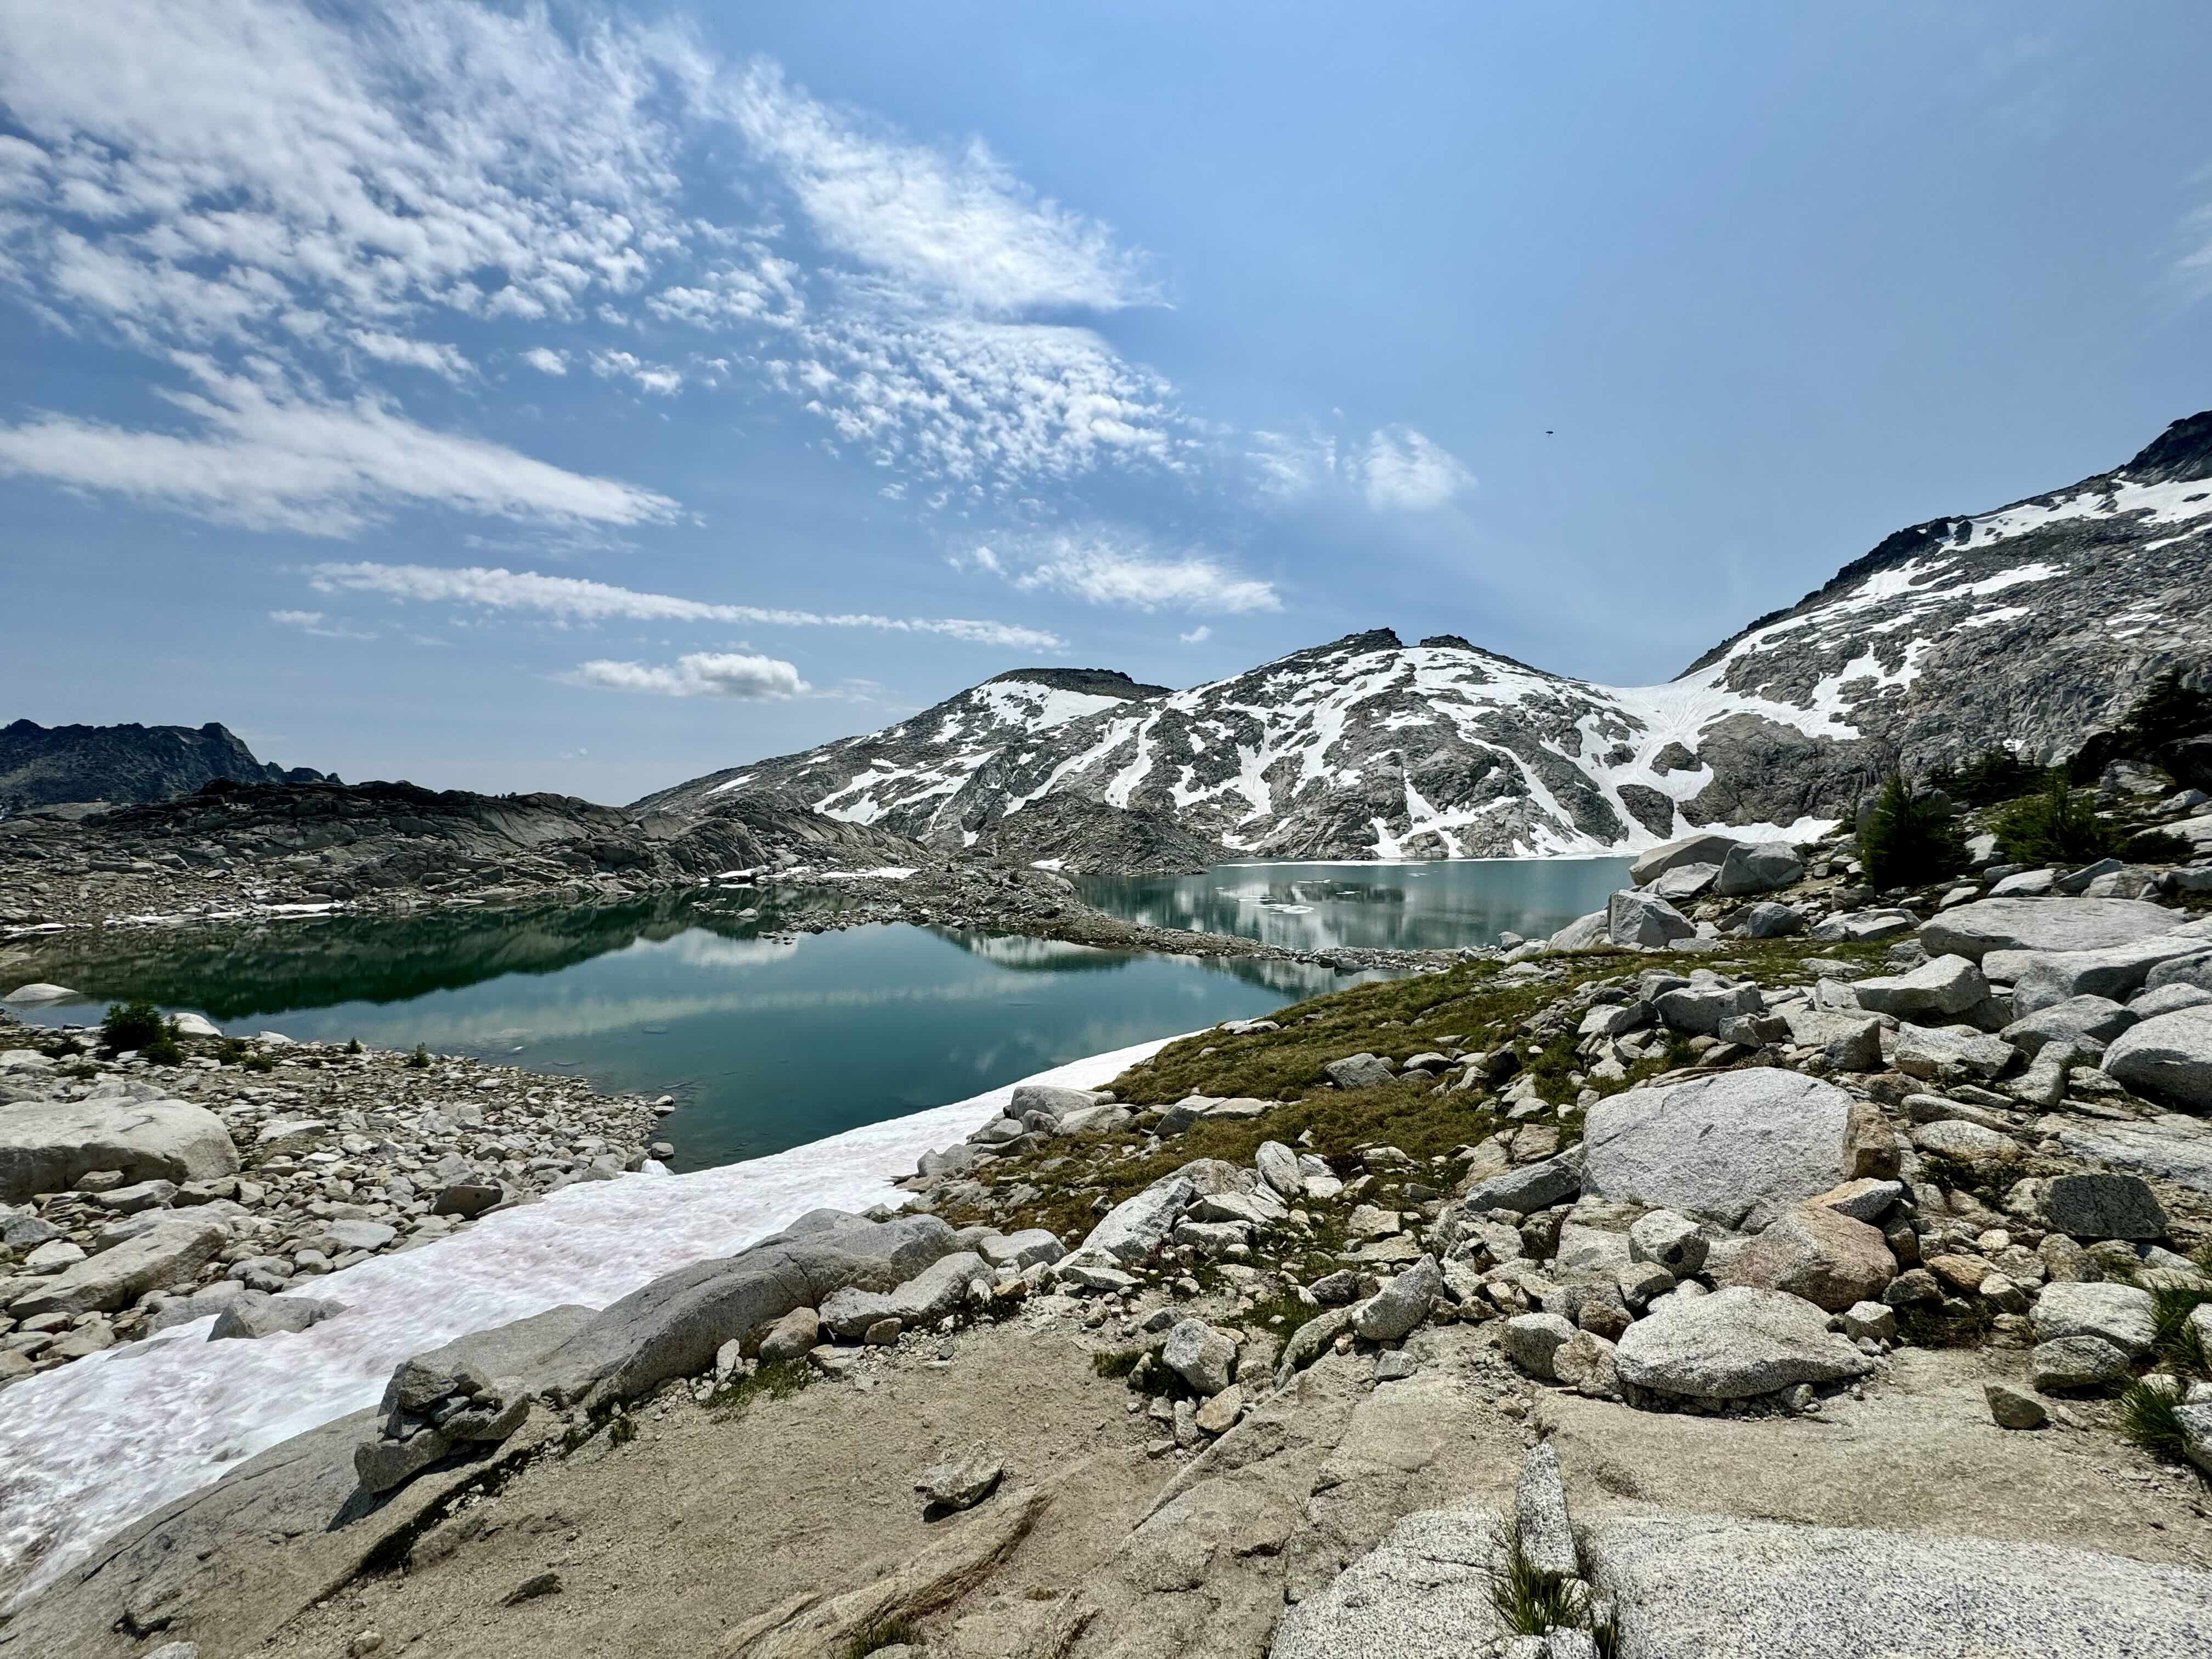
3. Core Enchantments Zone – this is amazing part of the hike. It’s the start of the downhill portion and you’ll just find one stunning alpine lake after another. On our hike, there was snow on the trail in a few spots and even a snow slide you could glissade down right before Inspiration Lake. We also jumped in for a quick cold plunge at Lake Viviane (the last lake of the Core Enchantments Zone).
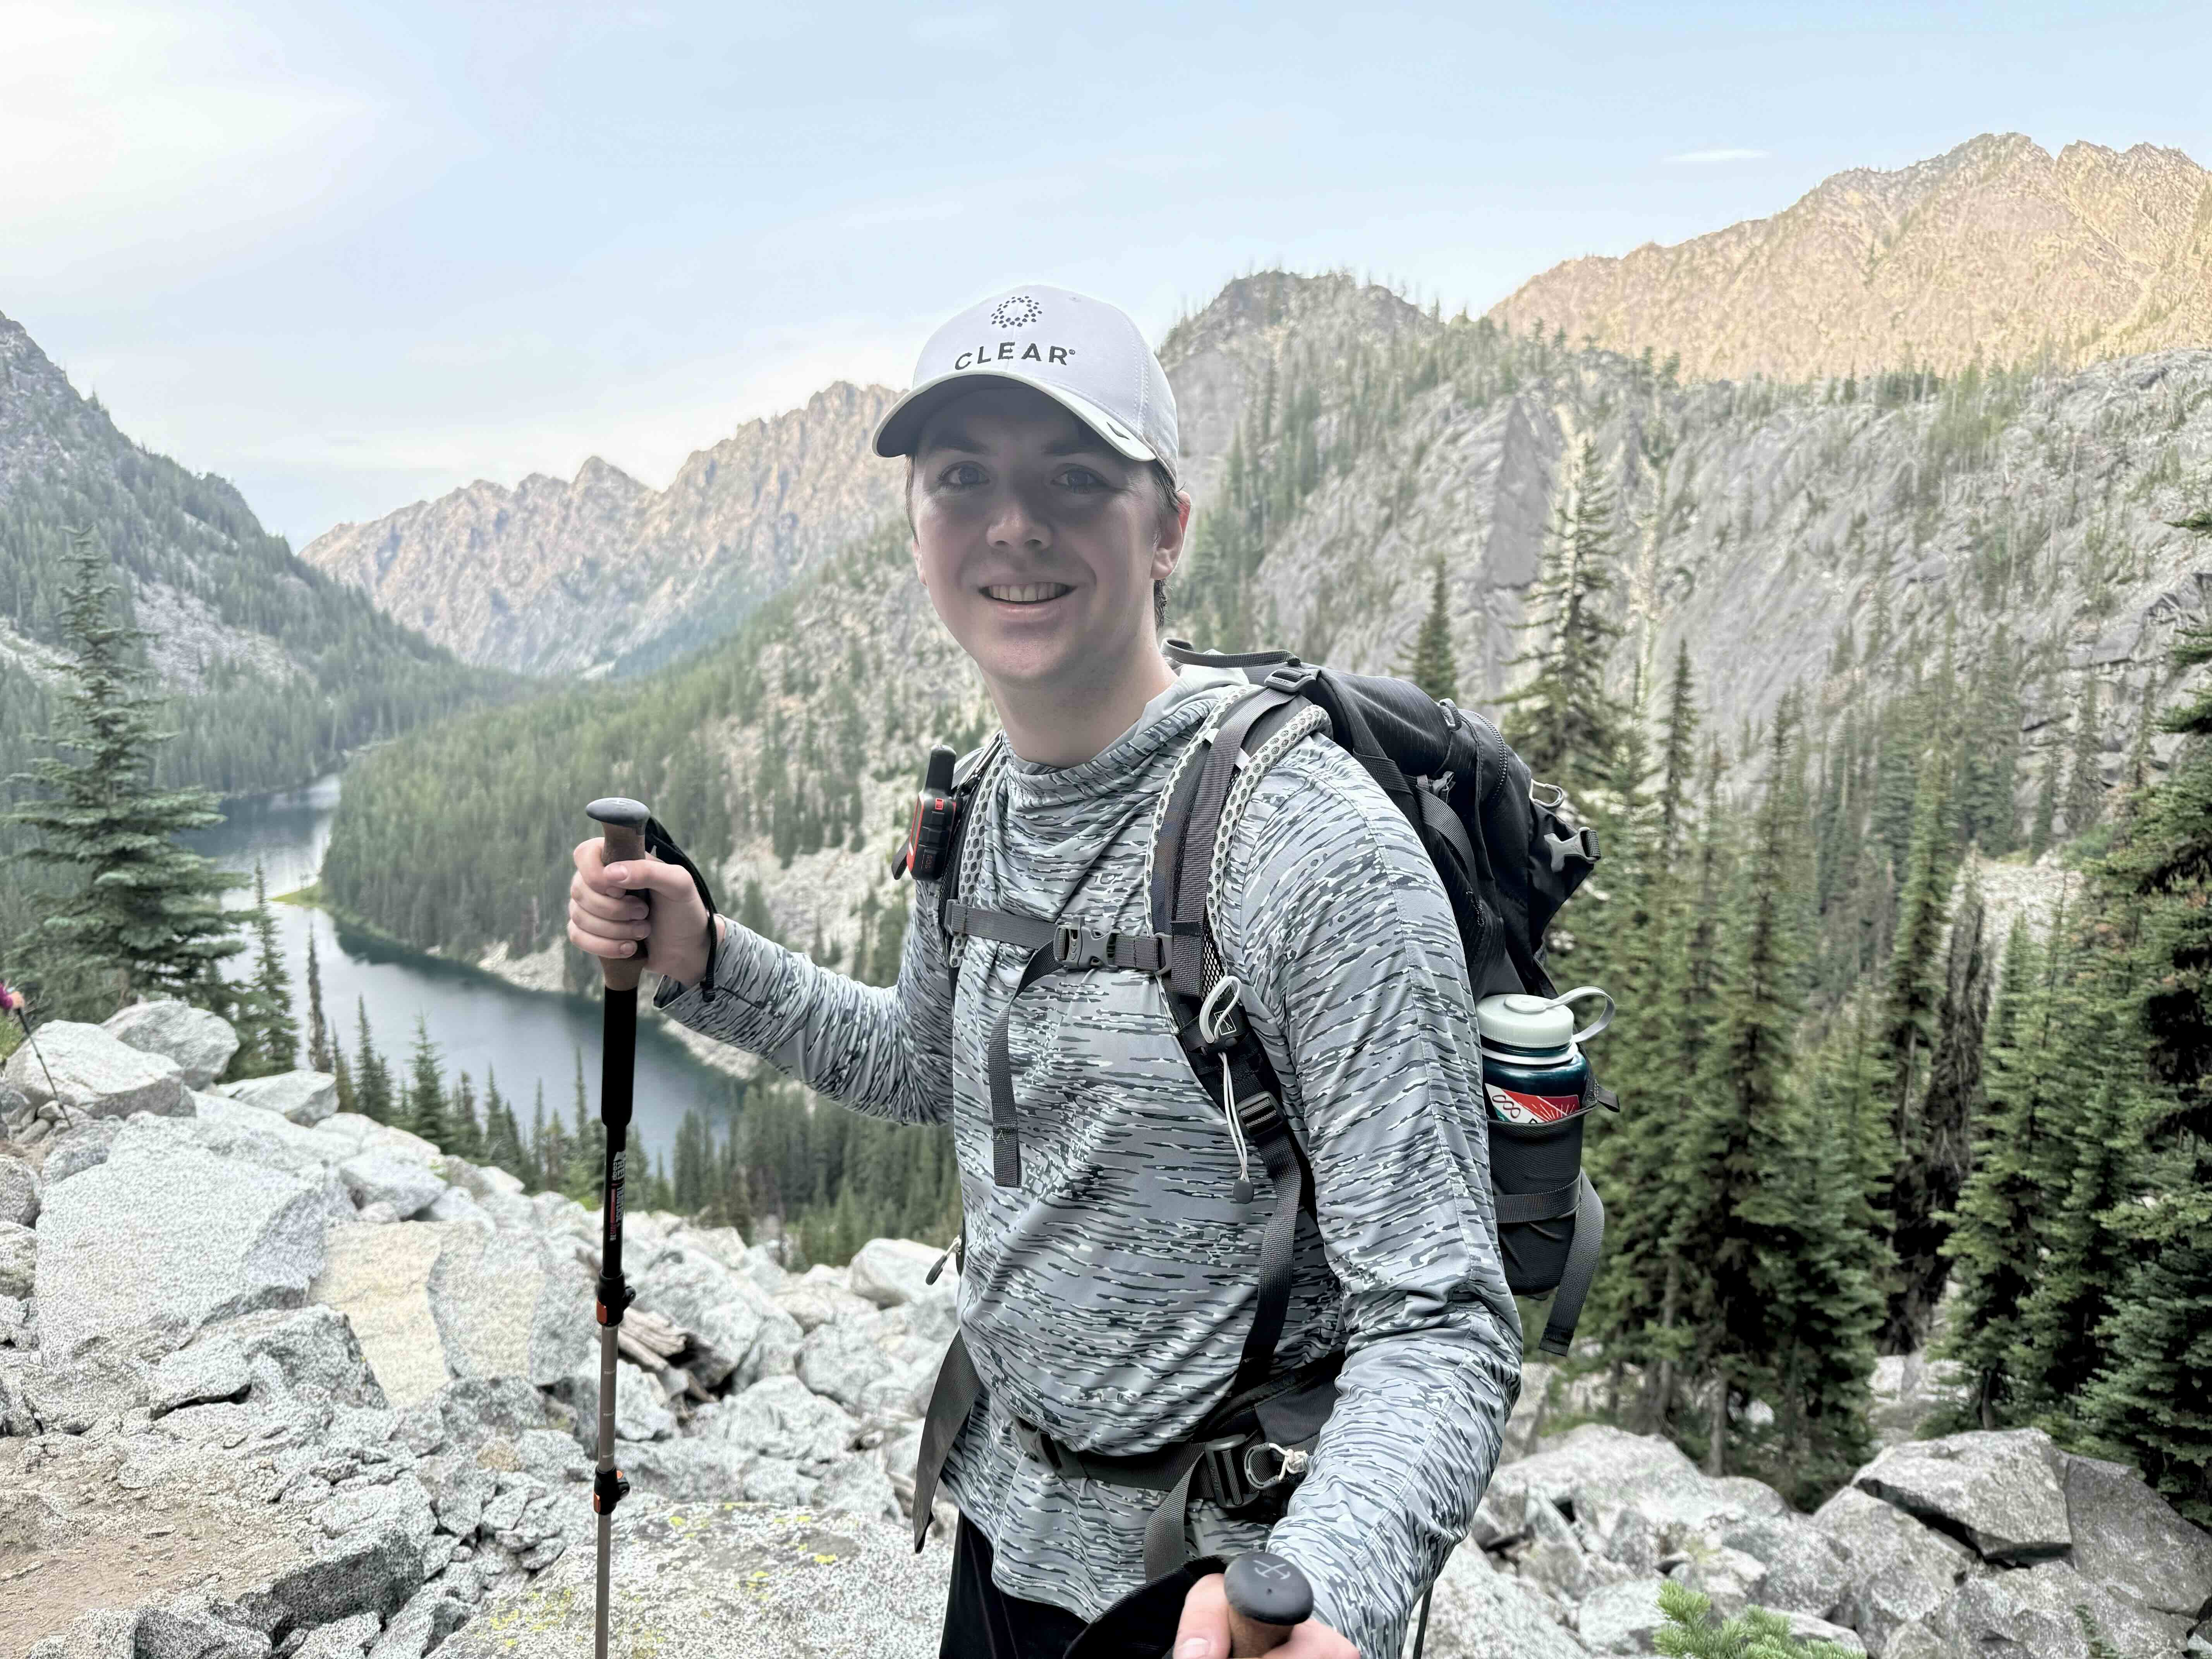
4. Snow Lakes to the trailhead – by this point, you’re tired, your body hurts, and you still have several more miles to cover. The best views are behind you and you really just have to grind it out to the finish. The trail is smoother here, so we picked up the pace (practically trail running at times) to finish quickly.
Epic Views
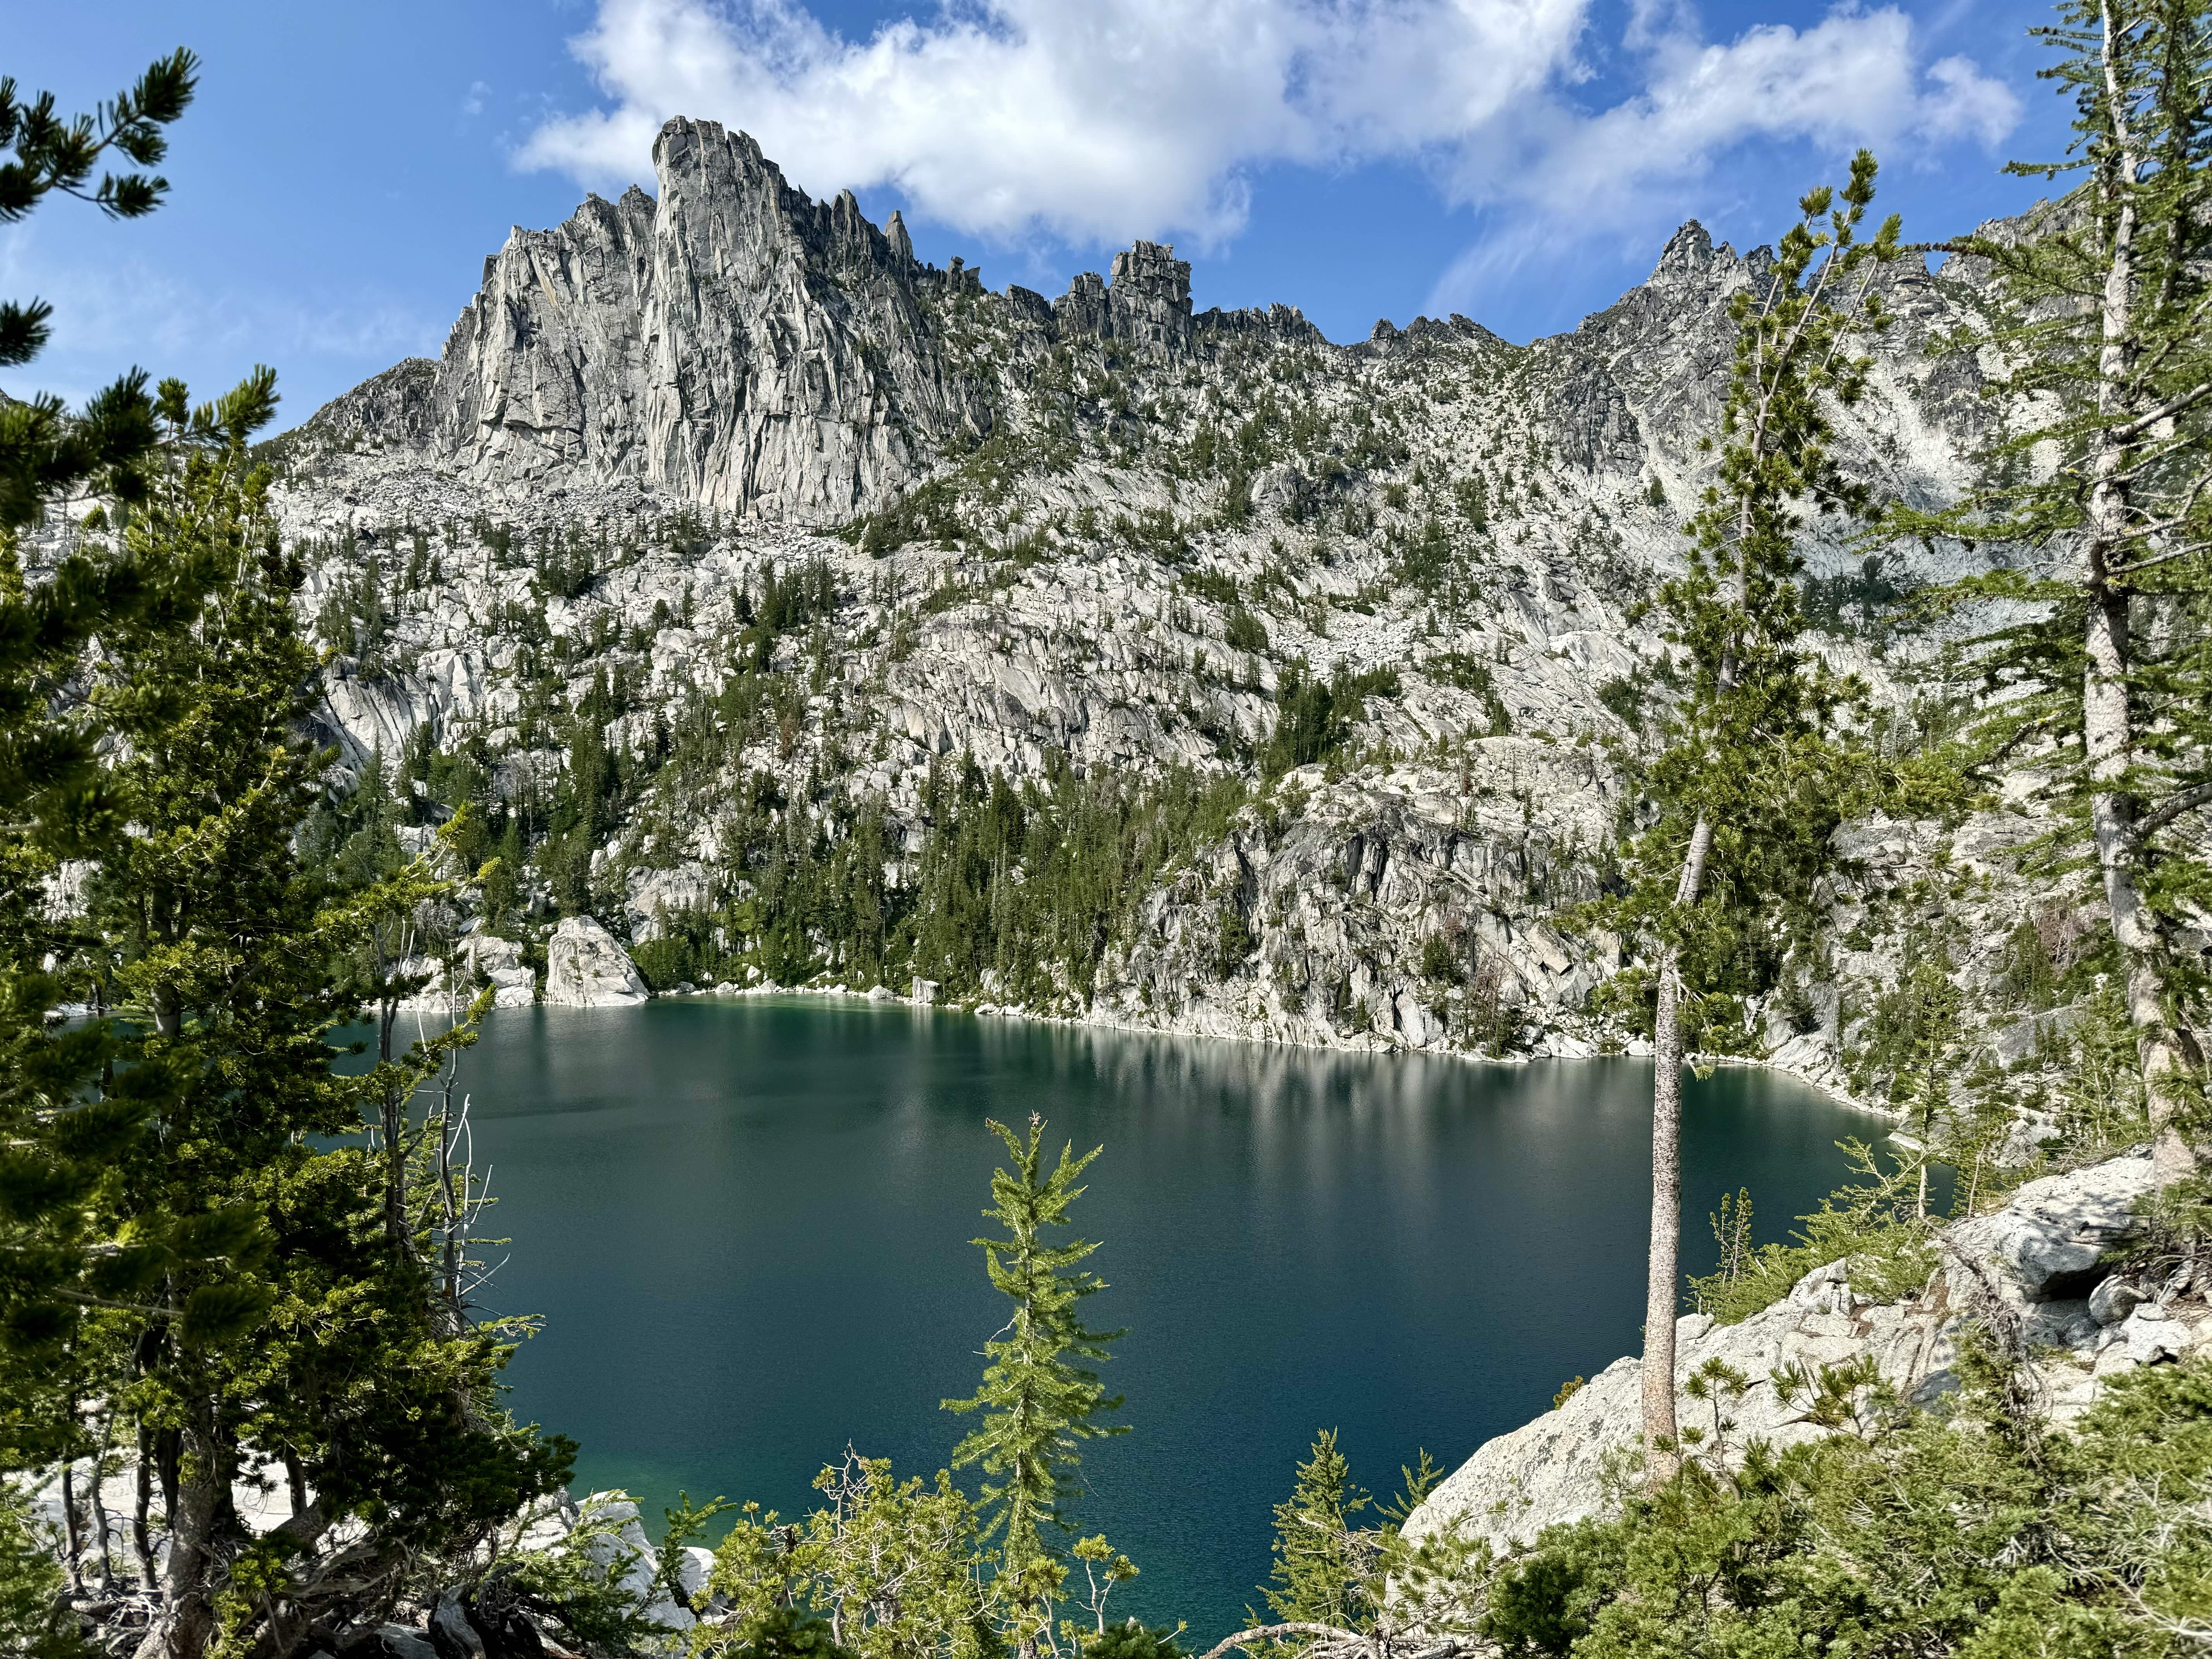
This hike wouldn’t be worth the struggle if it weren’t for the absolutely incredible views it provides along the way. Pictures don’t even do it justice!
Blisters
The unfortunate reality of hiking nearly 20 miles is that you’re almost guaranteed some blisters (unless you’re a really experienced hiker). I felt blisters forming on my thumbs (from my hiking poles) and the balls of my feet (on the downhill portion). Whenever I felt a hot spot appear, I stopped and applied leukotape, which stopped the blisters from progressing further.
Your body will likely have other aches and pains too, so do your best to prepare for them and address them. A lot of people on the trail had some sort of knee braces on, which are especially helpful for the downhill.
What to Pack for a Thru Hike
- Backpack – one with hip support to take weight off your shoulders. My husband bought this one from REI the day before our trip and really liked it (yes, even though it’s marketed as a women’s bag it fit him better). I recommend getting professionally fitted for your backpack to ensure it’s adjusted properly to your body.
- Hiking poles – these help you maintain your balance and posture. Trust me, your body will thank you after a long hike. Carbon poles are the lightest and cork handles are best for sweat control.
- Safety/navigation
- Garmin InReach Mini 2 – this SOS beacon allows you to contact first responders in the case of emergency. You can also text and send updates to friends/family when you don’t have cell service. You do need a paid subscription.
- Downloaded AllTrails map + premium subscription – we used a free 7 day trial of AllTrails+ for this hike
- Bear spray – consider this as insurance. It could literally save your life in the case of a bear encounter. Unfortunately, you can’t even bring this in checked luggage. We had to buy a canister at REI and leave it in Washington at the end of our trip
- Head lamps – it’s very common to finish the hike in the dark, so you’ll need to be prepared. Make sure it’s charged!
- Portable charger – it’s important to keep your phone charged so you can access the map (and take pictures)!
- Water/Hydration
- Katadyn BeFree water filter – the water from lakes and streams must be filtered before you drink it or it can make you sick. We have the 1L size.
- Water purification tablets – we only brought these as a backup in case our filter failed and didn’t end up needing them. Note that you do have to wait 30 minutes before drinking.
- Nalgene bottles – we had a 1L bottle for our regular water and a 0.5L bottle to mix hydration tablets in
- Nuun hydration tablets – we rotated between regular and caffeine tablets throughout the hike
- Plenty of snacks – we packed about 2000 calories/person, but didn’t eat all of it. We packed a variety of food, but our favorites were gummy worms, tuna packets, beef jerky, and fruit snacks
- What we wore (we also sprayed all our clothes with permethrin before we left)
- Long hiking pants – my favorite are from Lululemon
- Hiking boots – I recommend trying these on in person and breaking them in before this hike. I got this pair of Solomans from REI and love them.
- Wool socks – Darn Tough and Smart Wool are my two favorite brandsHats – either a baseball hat or wide brim hat
- Sun hoodies – the REI Sahara sun hoodie is our favorite!
- Sunglasses – we just picked up some cheap pairs from Goodr. They’re polarized and didn’t budge once on the hike
- Spare clothes
- Swimsuits – if you want to jump in the lake
- Packtowls – these microfiber towels fold up very small and soak up a lot of water
- Extra wool socks – we changed ours about halfway through the hike
- Extra layers (depending on the forecast)
- Rain jacket (depending on the forecast)
- First aid
- Leukotape – this waterproof tape is great at preventing blisters and will stay put the whole hike
- Pocket knife – I used this to cut the leukotape
- First aid kit
- Ibuprofen (if not included in your first aid kit)
- Sunscreen – remember to reapply!
- Bug spray
- Bug head net
- Knee brace/support bands – I found these discreet patella bands, but sadly forget them at the hotel!
- Bathroom
- Kula cloth – this waterproof, silver-infused, anti-microbial pee cloth can replace the need for toilet paper for women (but is only for #1!)
- Toilet paper
- Trowel – note that the pit toilets should be your first option for the bathroom. In case of emergency, use a trowel to dig a 6” hole to do your business (cover it up once you’re done and pack out your toilet paper)
- Pen – for filling out your permit at the trailhead
- Bag to collect trash in – we used a gallon size Ziploc
Enchantments FAQ
Final Thoughts
Thru hiking the Enchantments was the hardest physical challenge of my life, but I don’t regret it. Blisters heal, but the pride in this accomplishment will never go away. You need to be decently fit to do this hike, but you don’t have to be a hardcore hiker. I have to say, this hike is truly ~enchanting~ (and yes, we had Taylor Swift’s “Enchanted” stuck in our head the entire day).
Don’t forget to pin this post for future planning!
You may also like:

