How to Spot the Northern Lights
The Northern Lights (or Aurora Borealis) have always been a big bucket list item for me, and I am so grateful to have seen them three times on my trip to Iceland, with each display better than the one before. I’ve heard of people taking multiple trips in hopes of seeing the Northern Lights and never spotting them. In hunting for auroras, I had some misconceptions about them and how to spot them, so here’s the recipe for finding them.
In Iceland (and I’m sure other areas of similar latitudes), there are lots of tours available to take you out on aurora hunts, but they can be pretty pricey. If you have a car, I recommend saving your money and driving around on your own to look for the lights, which is what we did on the first night we spotted them. We ended up finding the tour buses and just went where they went! Alternatively, if you’re staying in more remote locations, you may not need a vehicle at all – on our 2nd and 3rd nights spotting the auroras we saw them from right outside our hotel rooms.
This post may contain affiliate links, which means I’ll receive a commission if you purchase through my link, at no extra cost to you.
Necessary Ingredients
1. Darkness
The need for a really dark sky is a large reason why the winter is the best time to see the Northern Lights, for the summertime leaves little to no darkness as you get closer to the artic circle. Our desire to see the Northern Lights was a major driving factor as to why we booked a trip to Iceland in November.
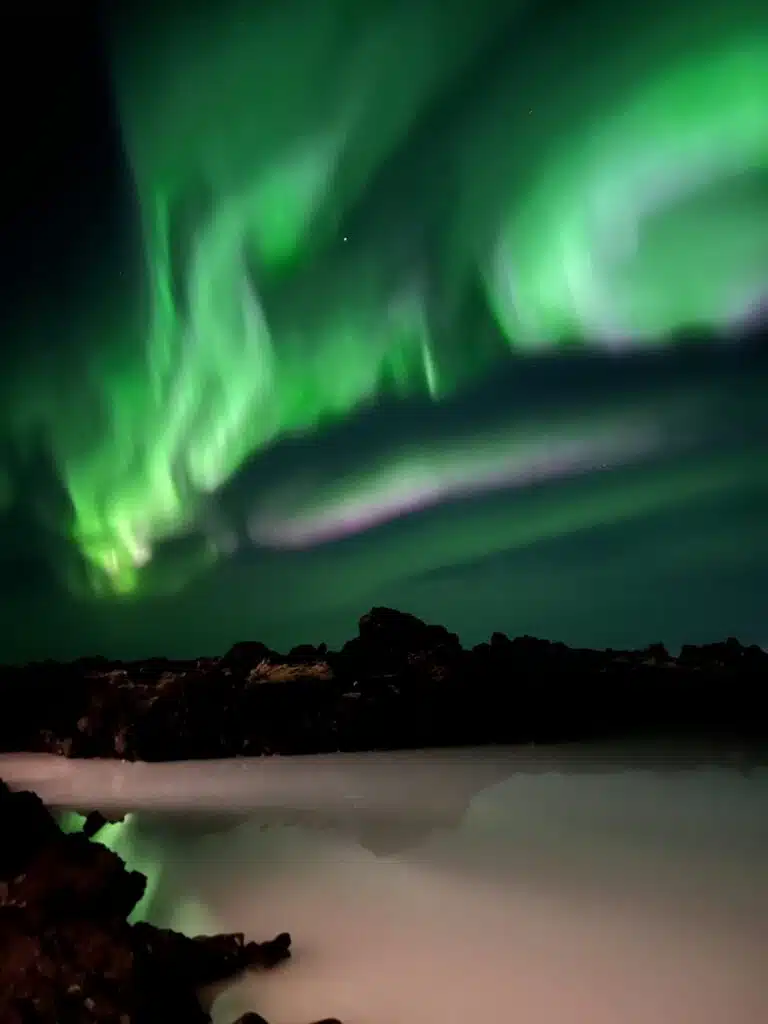
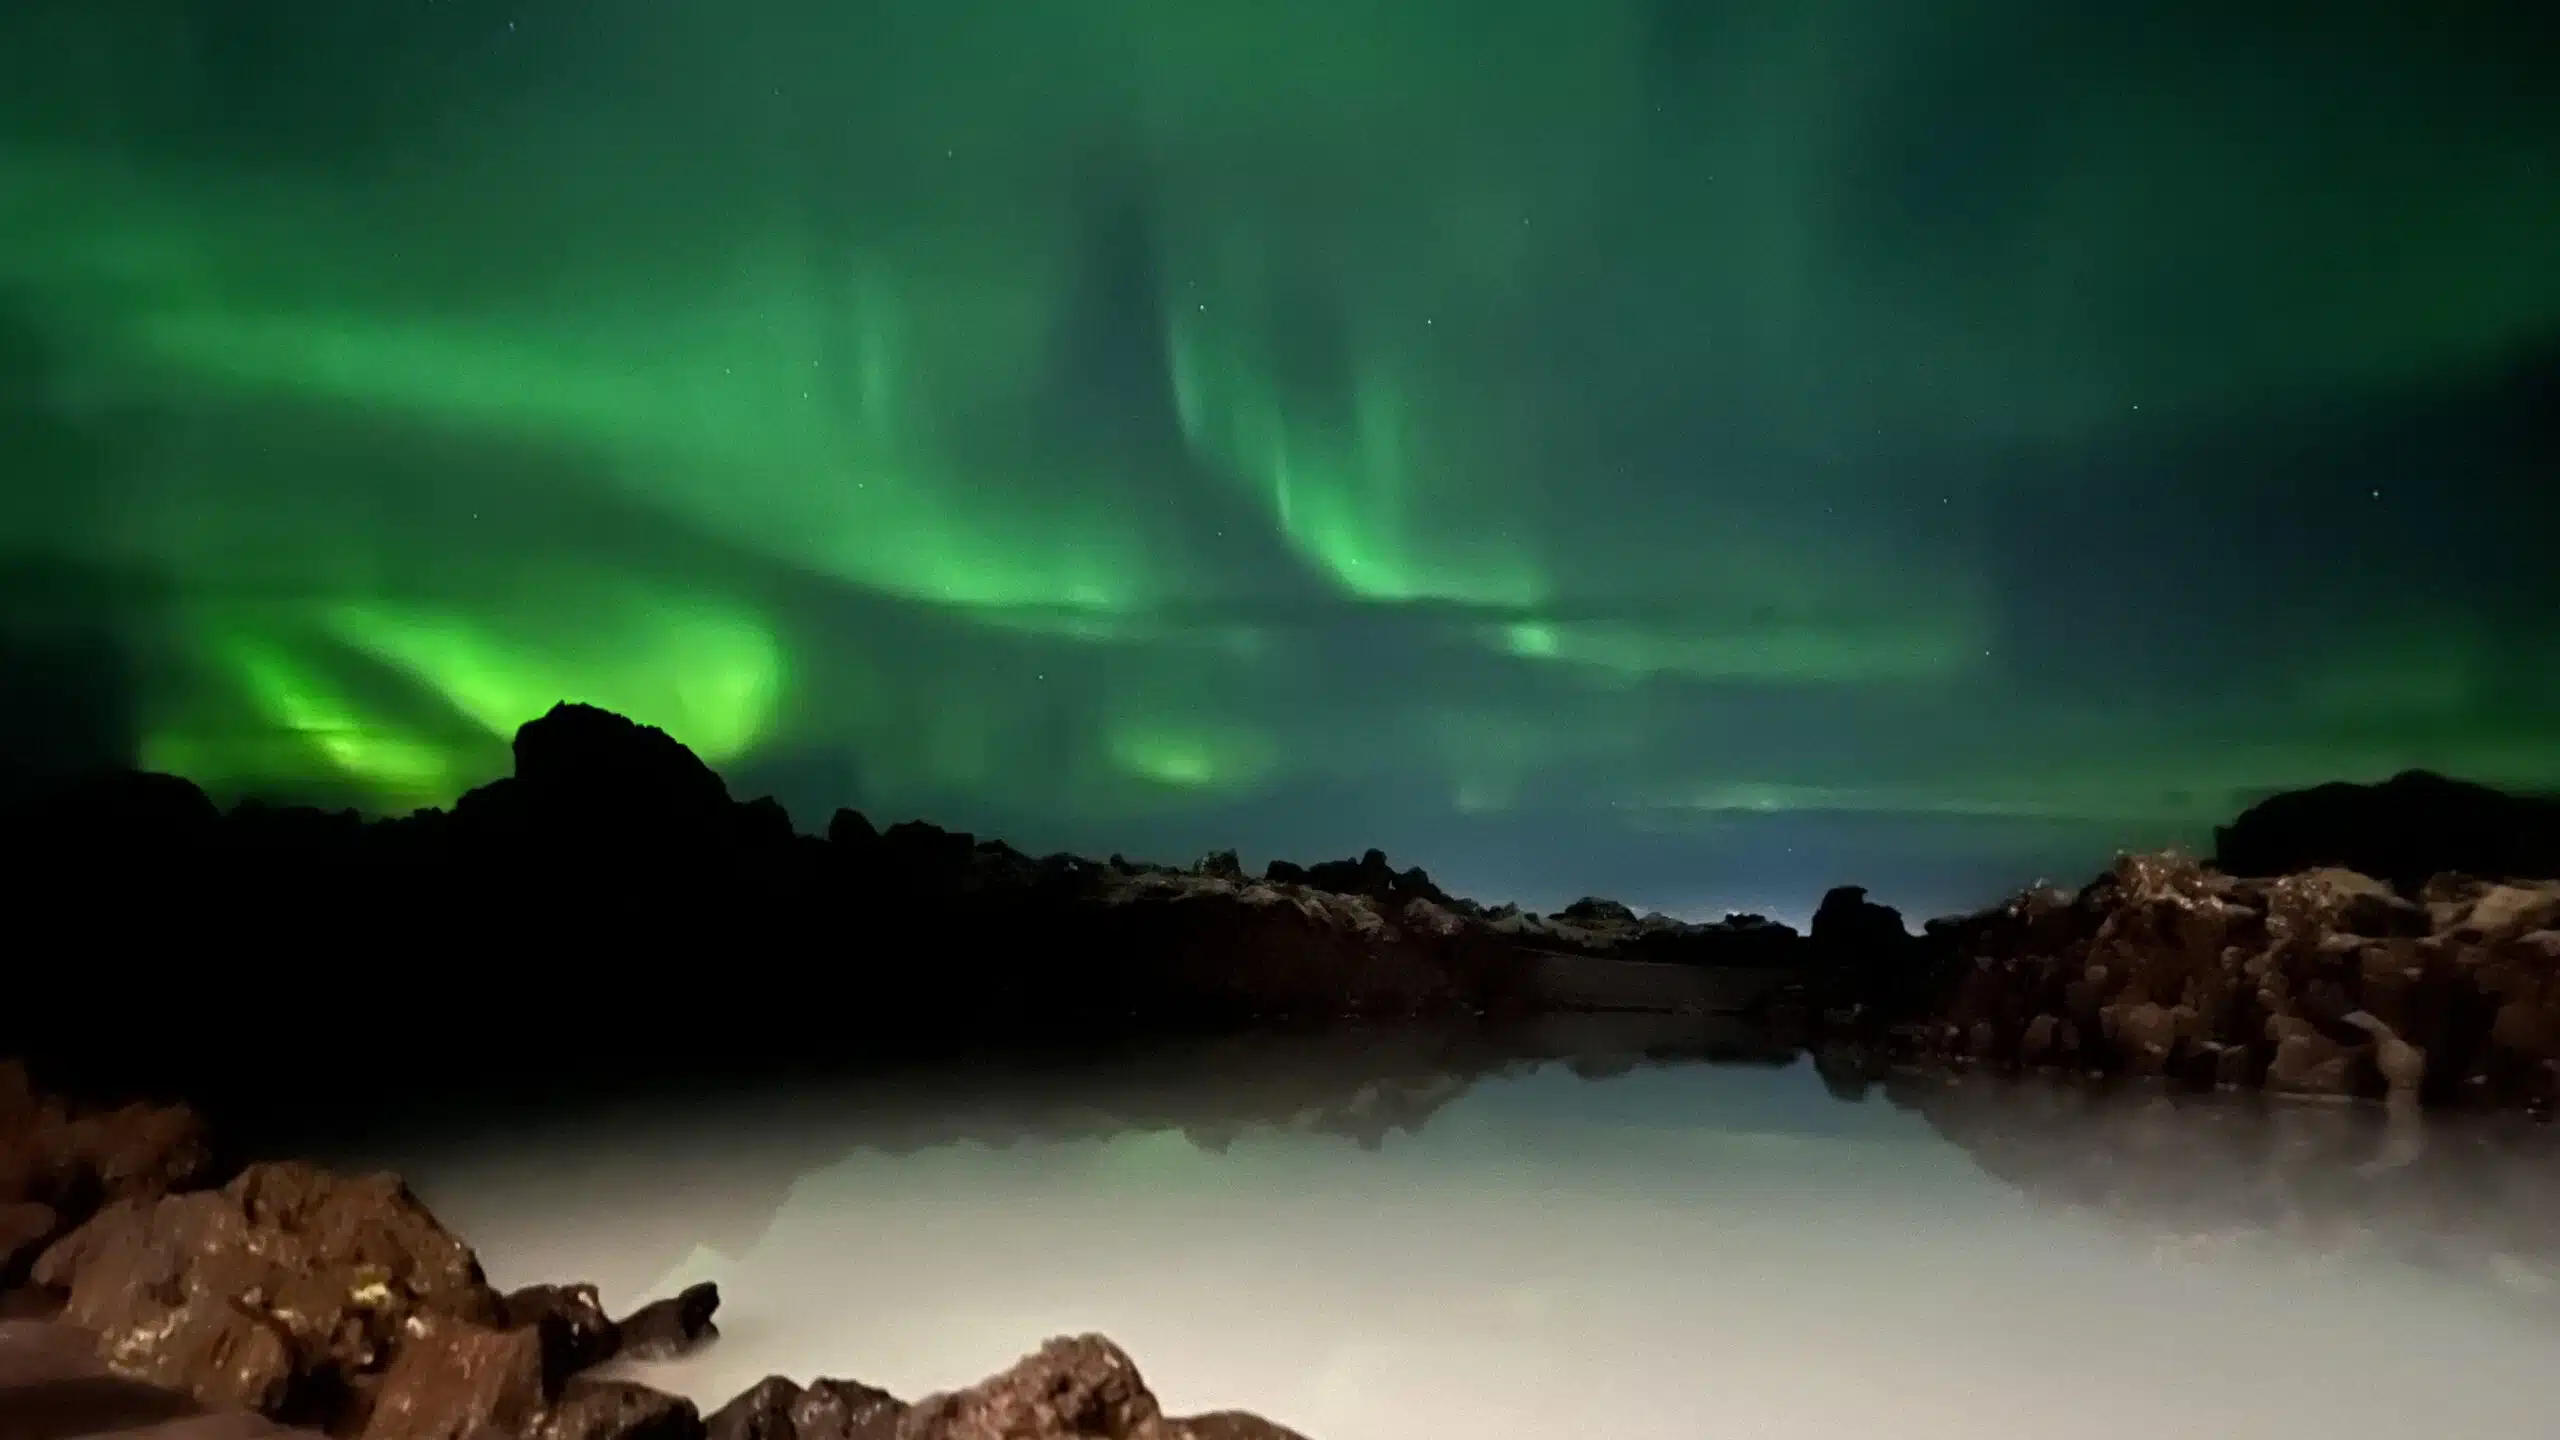
Manmade light pollution is another important variable to account for. If you’re in a city, you may have a harder time spotting the auroras unless they’re very bright. On the first night we spotted them, we’d been staying in Reykjavik but drove out beyond the city to spot the auroras, which were really faint. On our last evening in Iceland, we were treated to an incredible display that was certainly visible from the city, but we were staying out near Blue Lagoon and had plenty of darkness to enhance the experience.
2. Clear Skies
The auroras occur high in the atmosphere, above where clouds form, so any clouds will certainly obstruct your view. It’s both a blessing and a curse that clouds can move in or out quickly, so watching the cloud coverage forecast can help you predict when and where you’ll have the best chance at finding auroras. The site vedur.is is great for all sorts of weather reporting across Iceland, including cloud coverage.
Given the frequency of winter storms, this is likely your most limiting factor for seeing the lights. Strong winds and rain were precisely why we never got a chance to see the auroras during the middle of our trip.

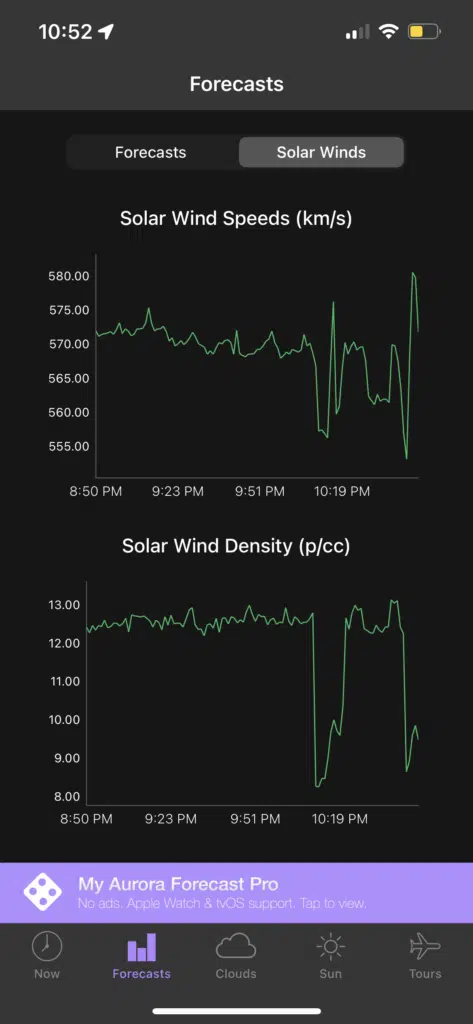
Take advantage of the websites and apps available to help predict auroras. I downloaded the free “My Aurora Forecast & Alerts” app and used it to see predictions, solar activity, cloud cover, etc. The app isn’t totally accurate – for example, it said I had about a 28% chance of seeing the auroras when they were 100% dancing brilliantly above my head at that very moment. I prefer the app being on the conservative side to not get my hopes up too much, though. There’s also a feature that shows you where they’ve been spotted around the world and over the course of the night the red pins start to move from Russia towards Finland and then over Iceland before making their way towards Canada – just tracking the general locations of the pins can give you an indication of if it’s time to start looking.

3. Solar Activity
It only takes a few minutes for solar activity on the Sun to make its way to Earth, so looking at the real-time charts can help you gauge the odds. Of course, the easiest way to see if there’s an aurora is to go outside, but when it’s freezing and windy, it’s much nicer to track an app indoors and only venture out if it’s worthwhile.
4. A Whole Lot of Patience and Luck
Even if you have clear skies, darkness, and solar activity, there’s no guarantee you’ll spot the Northern Lights. Many local Icelanders emphasized the importance of patience and luck when looking for the auroras.
Auroras can come and go fairly quickly, so going outside and checking repeatedly can be helpful. On the 2nd night we spotted them, we were watching TV and Thomas ran outside during every commercial break to check for auroras – a somewhat silly strategy that paid off in spectacular views of the Northern Lights and minimized time wasted in cold.
It can also be helpful to join Facebook groups of people nearby who are hunting for lights. Typically, people are quick to post if they find them.
Misconceptions
We had a couple of misconceptions about the auroras that originally hindered our chances at spotting them. First off, we thought they’d only appear around midnight when it’s peak nighttime. However, we discovered that people were spotting auroras near us while we were eating dinner around 6PM, just about 2 hours after sunset – this allowed us to view them when they came back brilliantly from about 8-11PM (and allowed us some more sleep). It turned out to be critical that they auroras can come early, as we noticed clouds would consistently roll in around 12-1AM.
Another mistake we made was thinking that because we weren’t above the arctic circle, we wouldn’t have great auroras. Thankfully we were very wrong. Iceland is below the arctic circle but still has the potential for amazing light displays. I’ve also heard of people spotting them as far south as Michigan and Minnesota, so don’t let the latitude fool you.
When we visited the planetarium in Reykjavik at the beginning of our trip, we learned that auroras are fuzzy to the naked eye, not just in pictures. This helped us understand what we were looking for when spotting them and set our expectations accordingly.
How to Capture the Beauty

It can seem intimidating to try to take pictures of the Northern Lights unless you’re a skilled photographer with thousands of dollars’ worth of camera equipment. When you Google “how to take pictures of Northern Lights iPhone” one of the first results is for an app called NightCap that costs $2.99 – I downloaded it so you don’t have to. It was a waste of money and I do not recommend. The app has “Stars Mode” where you can take a photo with a 15 second exposure, but unless you have an extremely sturdy tripod, all your photos will end up insanely blurry as it’s next to impossible to hold still for that long, especially if there’s wind.
Instead, I found much more success taking pictures with my normal iPhone camera app and even found that the auroras showed up better on camera than to the naked eye (especially when they were faint). I recently upgraded to the iPhone 13 Pro specifically with this trip and the Northern Lights in mind and with the automatic 3-second exposure when darkness is detected, I am thrilled with the photos I got. I also tried to take some pictures on Thomas’s iPhone 11 (which also had 3-second exposure but only 2 camera lenses) and while it technically worked, the photos were not nearly as good as on my phone.
The Northern Lights change shape and vary in brightness before your eyes, but still at a fairly slow pace. The best way to video the lights it to set your phone up on something (a tripod, a rock, etc.), and then film a timelapse. The results are spectacular. My only complaint was that my phone couldn’t capture the entire 180 degrees of auroras happening around us at the same time.
We found that we were able to view the auroras on the final night from inside our hotel room with all the lights turned off (largely because we’d lucked out with a north-facing room). However, the glass caused issues when trying to photograph the auroras and all my photos were blurry until I went back outside.
You may also like:

